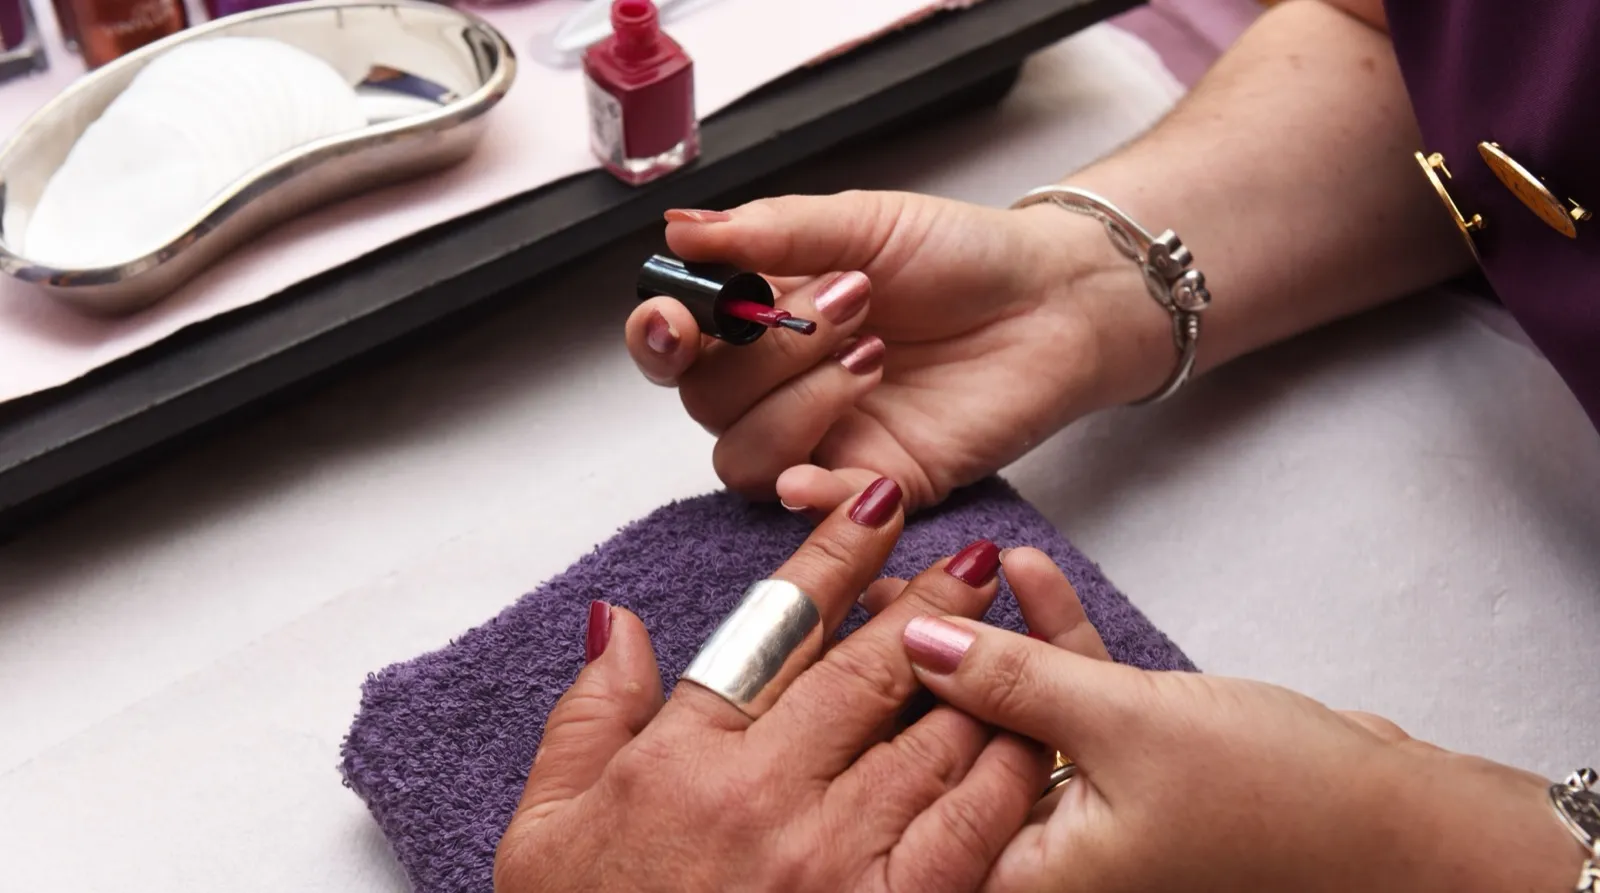
Cat Eye Nails: How to Get the Magnetic Line, Step by Step
8 Oct 2026 · VIRAA Professional · 8 min read
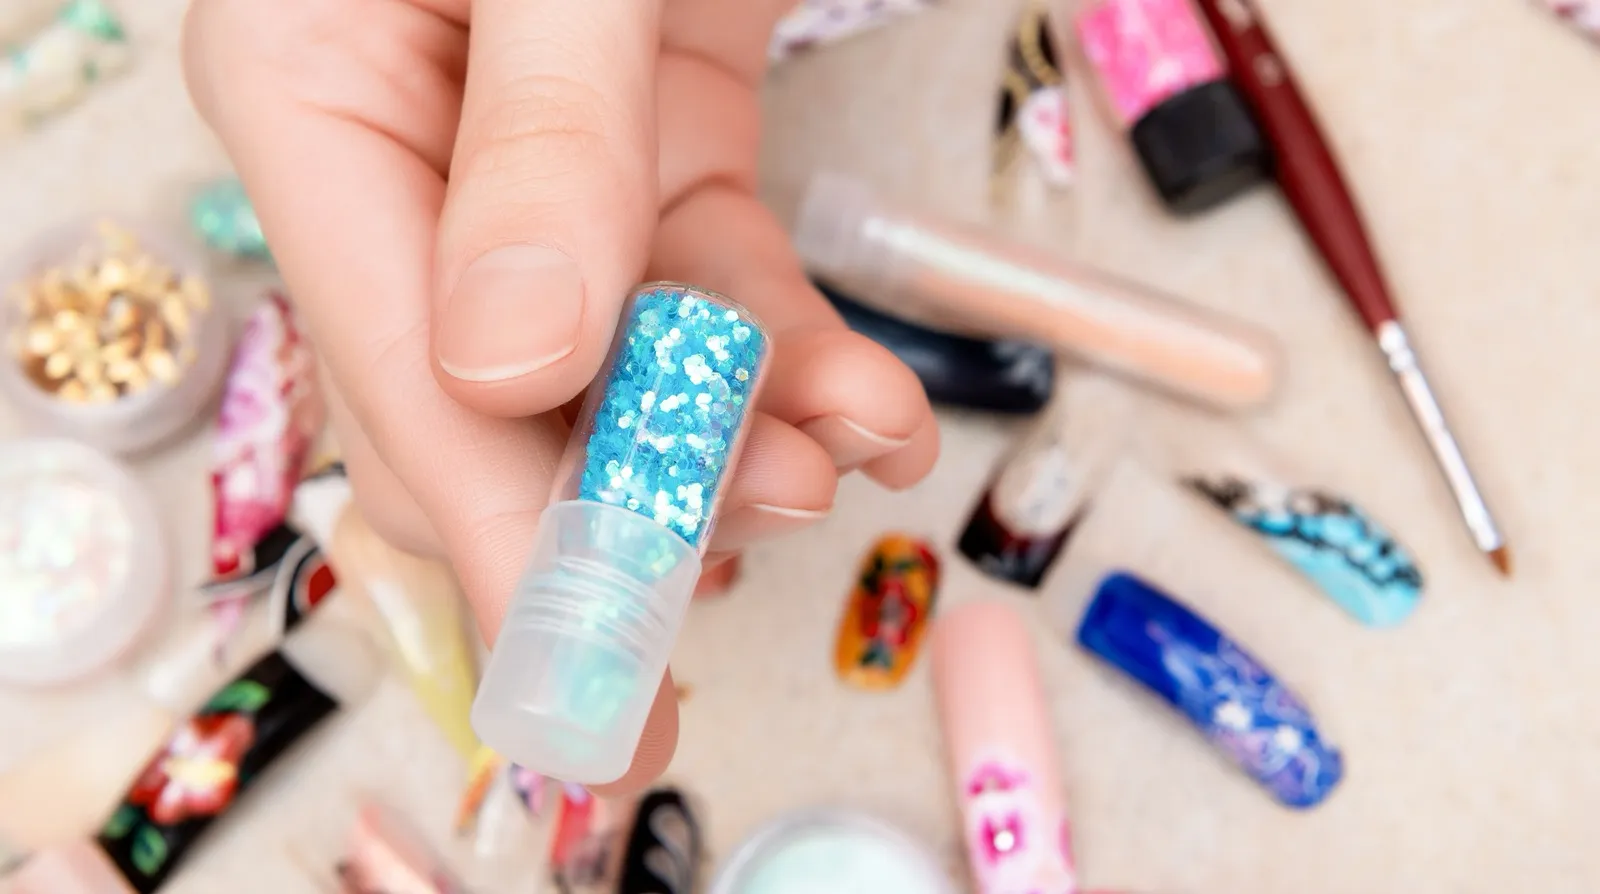
A cat eye nail looks like a trick. A bright, moving line sits in a pool of colour and shifts as the hand turns. It is also one of the quickest effects on a salon menu, because the part that looks like skill is done by a magnet. Your work is everything around it: the base, the thickness of the coat, the angle, and the cure. Get those right and the line takes a few seconds.
This guide is the method from a clean nail to a sealed set, what changes with the base colour and the magnet, and the handful of mistakes that account for nearly every blurry line.
What cat eye gel actually is
Cat eye gel is a normal soak-off gel polish with fine magnetic particles suspended in it. While the gel is wet the particles can move. Hold a magnet close and they are drawn towards it and line up, which is what you see as a streak of light. Cure the gel and they are fixed where they were.
Two things follow from that, and they explain most of what goes wrong. The particles can only move while the gel is uncured, so the magnet has to do its work before the lamp. And they can only move through a coat that is thin enough to let them, so a thick coat blurs the line however good the magnet is.
What you need
- A cat eye gel. The shop has four, covered below.
- A cat eye magnet. A small bar or wand magnet, sold separately from the gel. This is the one tool people forget to buy, and without it the gel is just a shimmery colour.
- A UV or LED lamp. The nail lamps page has the options.
- Base coat and top coat. A base coat underneath and a no-wipe top coat over it.
- A base colour, if you want one under the effect: usually black or a deep shade.
- The usual prep: file, buffer, dehydrator and primer.
The method, step by step
- Prepare the nail properly. Push back the cuticle, buff the shine off the plate, remove the dust, and dehydrate. Cat eye is an effect that sits on top of a base, and if the base lifts the effect lifts with it. The prep system has every step, and why gel polish lifts explains what to check.
- Apply base coat and cure it. A thin layer, capped at the free edge.
- Apply your base colour and cure it, if you are using one. A dark colour gives the strongest line. Do two thin coats rather than one thick one, and cure each.
- Shake the cat eye bottle well. The particles settle, and a bottle that has not been shaken gives an uneven line.
- Apply one thin coat of cat eye gel. Do not cure it. Keep it off the skin and the cuticle; gel on the skin cures into a ridge that lifts.
- Bring the magnet to the nail. Hold it close to the surface, a few millimetres away and not touching, and position it where you want the line. Hold it still for a few seconds, until the line looks right.
- Cure with the magnet in place. Keep the magnet where it is while the lamp is on. Some technicians give the nail a very short flash cure with the magnet held in place to lock the line, then remove it and finish the full cure. Follow the cure time on the bottle for the full cure.
- Add a second coat if you want more depth, and repeat the magnet step and the cure.
- Seal with a top coat. Cap the free edge and cure. A no-wipe top coat leaves nothing to wipe, so there is no wipe to smear the finish.
Choosing the shape of the line
The same bottle gives a different nail depending on the magnet and how you hold it, which is why cat eye never looks identical twice.
- A straight line across the nail. Hold a bar magnet flat above the nail with its long edge parallel to the free edge. The line forms along the magnet.
- A diagonal line. Tilt the magnet. The line tilts with it.
- A line at the side or the tip. Bring the magnet to the side of the nail or the tip instead of over the centre, and the particles gather towards it. This gives the glowing edge or "aura" look.
- A curve or a pattern. Curved, round and patterned magnets give curves, flowers and other shapes. They are worth owning once the straight line is easy.
Practise on a practice stand or on tips before you work on a client. The line is decided in the few seconds before the cure, and a steady hand there is worth more than any product.
How the base colour changes the result
Black or a very dark colour gives the sharpest, brightest line and the most contrast. It is the default for good reason.
A deep jewel colour such as navy, burgundy or green gives a line that glows with that colour in it.
A light or nude base gives a softer, more pearly effect. The line is subtler, and the colour of the cat eye gel itself does more of the work.
No base at all works for a sheer effect, but the natural nail shows through, and the result is hard to repeat from one client to the next. A base colour makes the effect consistent.
If you want an effect over a colour you have already chosen, the Universal Mirror Cat Eye Gel is the one made for that. It is formulated to go over any cured colour.
The four cat eye gels, and how they differ
All four are soak-off and cure under UV or LED, and all four need a magnet.
- Cat Eye Gel Polish 15ml comes in six shades in the larger bottle. It is the one for a desk where cat eye is a regular request.
- Cat Eye Gel Polish 7.5ml is the same effect in a compact bottle, also in six shades. It suits trying more colours without committing to large bottles of each.
- Laser Cat Eye 7.5ml has six light-shifting shades with a laser-like reflection that changes as the nail moves under light.
- Universal Mirror Cat Eye Gel is the most reflective of the four, a mirror-like magnetic finish that goes over a colour of your choice.
All of them are on one page at cat eye gel polish, and nail art gels compared sets cat eye beside glitter, platinum and blooming gels so you can see where each one fits.
Why the line goes wrong, and the fix
The line is blurry. The magnet was too far away, it moved while the gel was uncured, or the coat was too thick. Bring the magnet closer, hold it still, and use a thinner coat.
There is no line at all. The magnet is too weak, or the gel was cured before the magnet was in place. Try a stronger magnet, and make the magnet step come before the lamp every time.
The line is off-centre or crooked. The magnet was tilted or placed unevenly. Rest your hand on the stand so the magnet is held at a fixed height and angle, and look at it from above, not from the side.
The effect looks dull. The base was pale and the coat thin, or the top coat is cloudy. Try a dark base, a second coat of cat eye, and a clear gloss top coat. If the finish is the issue, gel top coat finishes compared shows what each does.
It lifts at the edge. Gel got onto the skin or the cuticle, or the free edge was not capped. Clean up before curing, and seal the edge with the top coat.
Combining cat eye with other effects
Cat eye layers well. A single accent nail in cat eye over a plain set is the easiest way to add an effect to an ordinary manicure. Pair it with a chrome finish on another nail using chrome powder and mirror top coats, or add sparkle on the ring finger with glitter gel polish. The full range of effect gels is in nail art supplies.
One caution on top coats: a matte top coat takes the light out of the line, so cat eye and matte rarely go together. If you want a soft finish, choose a lower-shine gloss instead.
Taking it off
Cat eye gels are soak-off. Buff the top layer lightly to break the seal, wrap each nail in an acetone-soaked pad, and leave it for the full time. The gel should lift away. Scraping or peeling takes layers of the natural nail with it, so wait if it has not softened. Particles in the gel can make it take a little longer than a plain colour.
The short version
Prepare the nail, put on a dark base, apply one thin coat of cat eye gel, hold the magnet close and still, cure with it in place, then seal. The line comes from the magnet; the result comes from the thin coat, the dark base and the cure. If you do not have a magnet yet, buy one before anything else, because the gel does nothing without it.