Nail Prep Explained: Why Gel Lifts and How a Prep System Stops It
7 Oct 2026 · 7 min read
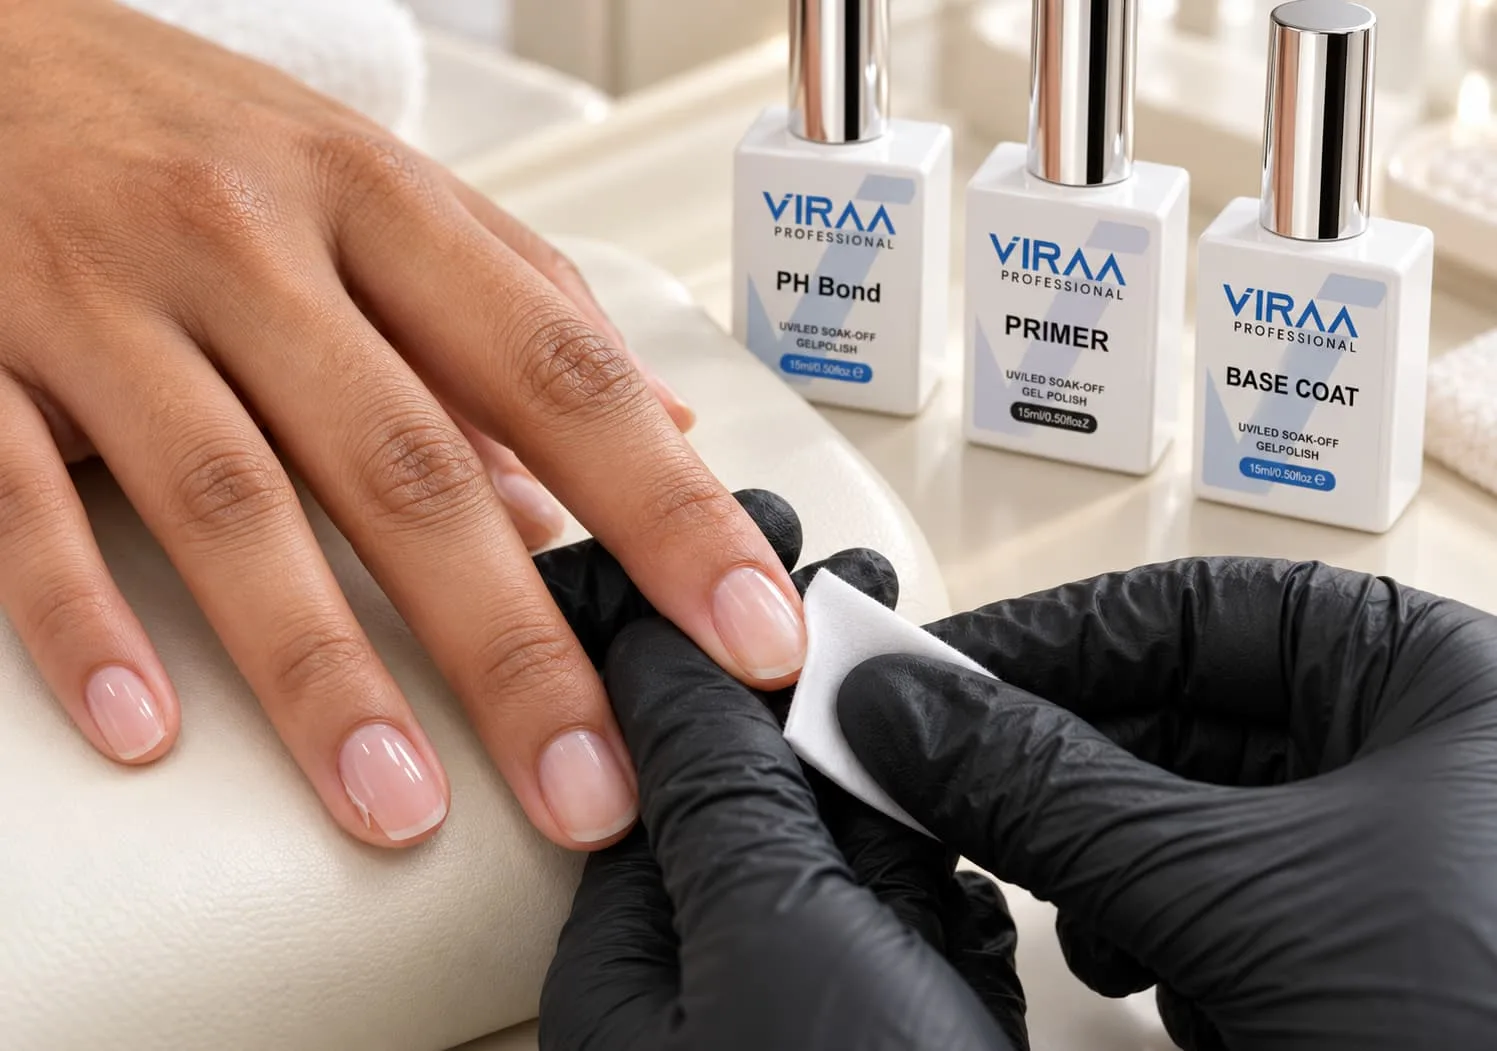
Lifting ranks as the most common complaint in any gel salon, and it usually starts before the base coat goes on. The best professional nail products still fail on a nail plate carrying oil, moisture or dead cuticle tissue. This guide explains what a nail prep system does, walks through each step in order, and shows the small habits that make a big difference to wear time.
What Is a Nail Prep System?
A nail prep system is a set of products and steps that get the natural nail ready for gel, builder gel, polygel or other enhancements. The goal is simple: give the base coat a clean, dry surface to grip.
Most prep systems include some combination of:
• A cleanser to remove surface oils and dust
• A dehydrator to reduce moisture on the nail plate
• A primer to help the product adhere
Some brands also include cuticle products or pH balancing steps. Each system has its own directions, so follow the maker’s order and timing for the products you use.
Why Gel Lifts: The Usual Suspects
When a client returns with lifting, look for these causes first.
Oil on the nail plate. Natural oils, hand cream and even touching the face can leave a film that blocks adhesion.
Moisture. Water from a soak or a recent hand wash can stay in the nail plate and weaken the bond.
Cuticle tissue left on the plate. A thin, clear layer of dead tissue often sits near the cuticle line. Gel applied over it lifts easily.
Shine left on the nail. A light removal of shine gives the base more surface to grip. Heavy buffing, however, thins and damages the nail.
Product on the skin. Gel that touches the cuticle or side walls tends to lift from that point.
Under-curing. A base that did not cure fully cannot hold the layers above it.
Good prep solves the first four problems. Careful application and correct curing solve the rest.
The Prep Steps, In Order
Every educator teaches small variations, but most professional prep follows this sequence.
1. Clean hands and tools
Start with clean hands for both you and your client, and use clean tools. Follow the hygiene rules that apply in your area.
2. Push back the cuticle
Gently push the cuticle back with a pusher. This reveals the full nail plate and shows you any tissue stuck to it.
3. Remove non-living tissue from the plate
Lift away the dead tissue that clings to the nail plate. Take care not to cut or damage living skin.
4. Shape the free edge
File the nail to the desired shape using a gentle grit suited to natural nails.
5. Remove the shine
Lightly buff the surface to remove shine. Keep this light. The aim is a matte look, not a thinner nail.
6. Remove the dust
Brush away all filing dust. Dust trapped under the base can cause bumps and weak spots.
7. Cleanse and dehydrate
Wipe the nail with a cleanser or dehydrator on a lint-free wipe. From this point, avoid touching the nail plate with your fingers.
8. Apply primer if your system uses one
Apply a thin layer only where the system directs, and keep it off the skin.
9. Apply the base coat
Move on to the base without delay, while the nail stays clean and dry.
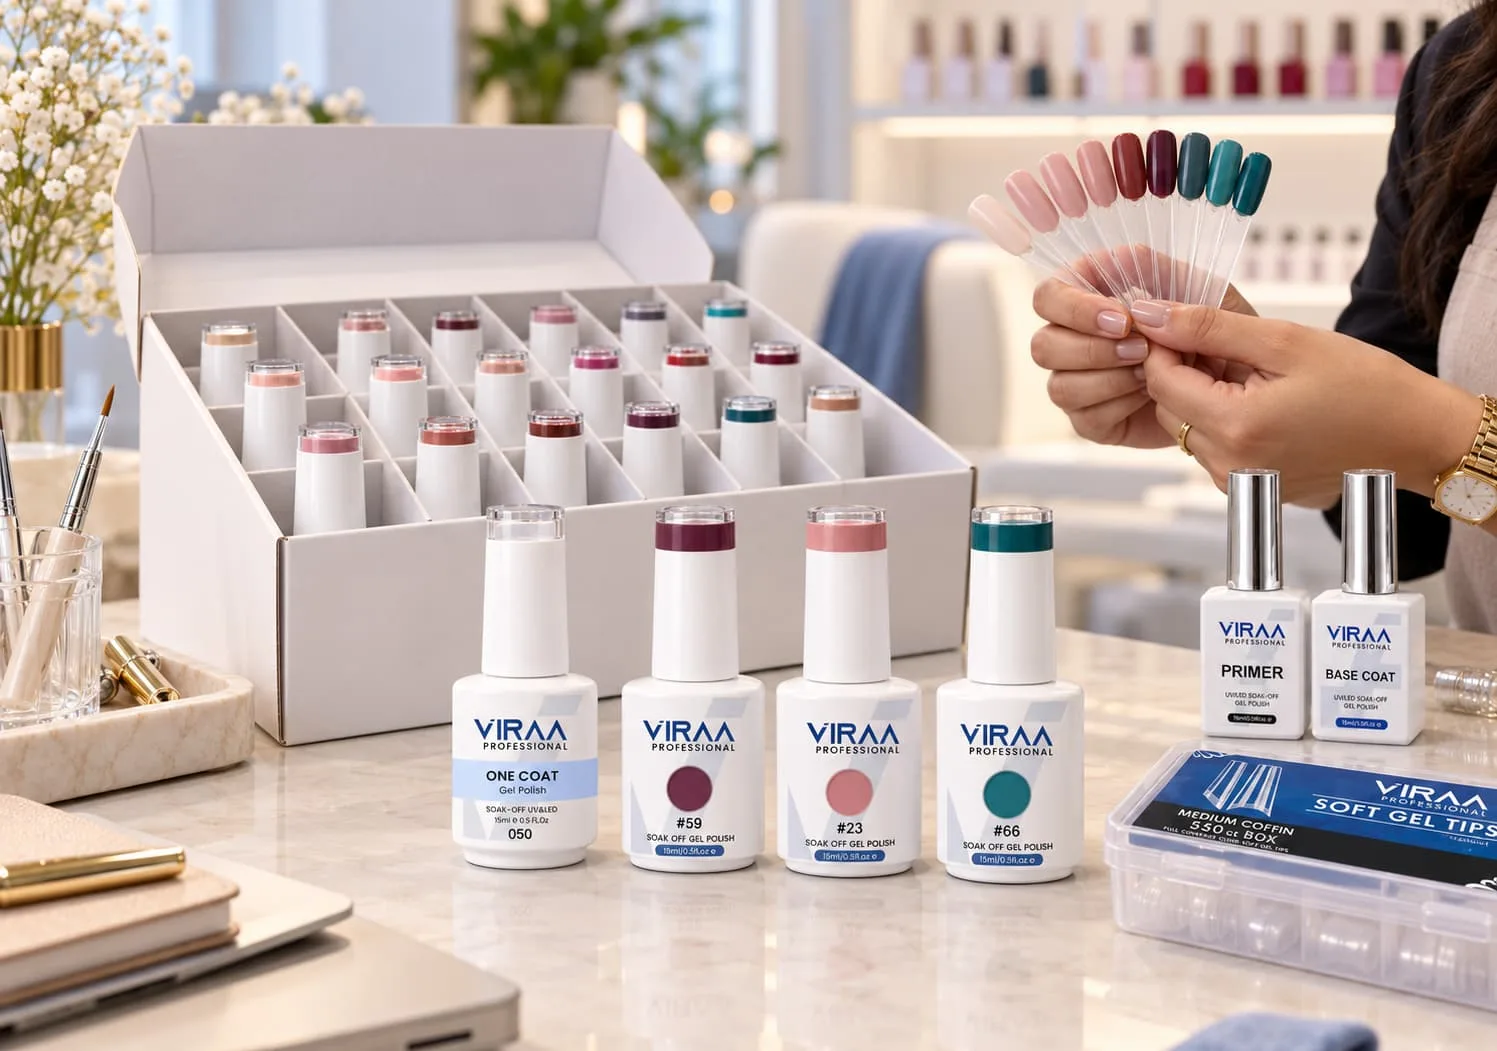
Viraa Professional groups prep products in its prep system collection, so you can build this routine with products designed to work together.
Dry Prep vs Wet Prep
Many gel technicians now use dry prep. They skip soaking the fingers in water before the service. The reason is practical: nails absorb water and swell slightly, and when they dry out again after the service, the change can stress the bond.
Wet manicures still have a place, especially for natural nail care and spa services. However, if you plan to apply gel, consider leaving the soak out or allowing plenty of drying time before you begin.
Where Prep Fits Among Your Professional Nail Products
Prep products rarely get the spotlight. Clients see colour and shine, not dehydrator. Yet prep decides whether your gel, base and top coat can perform at all.
Think of prep as the first layer of your system:
1. Prep gives a clean, dry surface.
2. Base coat grips that surface.
3. Colour or structure bonds to the base.
4. Top coat seals and protects everything.
If you invest in good professional gel polish and a quality top coat, it makes sense to protect that investment with proper prep products too.
Common Prep Mistakes
Over-buffing. Heavy buffing thins the nail, causes sensitivity and can make lifting worse over time.
Touching the nail after cleansing. Your fingertips carry oil. Once you cleanse, keep your hands off the nail plate.
Applying primer too thickly. More primer does not mean more grip. Follow the directions and use a thin layer.
Rushing tissue removal. Leftover cuticle tissue remains one of the biggest causes of lifting near the cuticle line.
Skipping dust removal. Dust under gel creates weak spots and uneven surfaces.
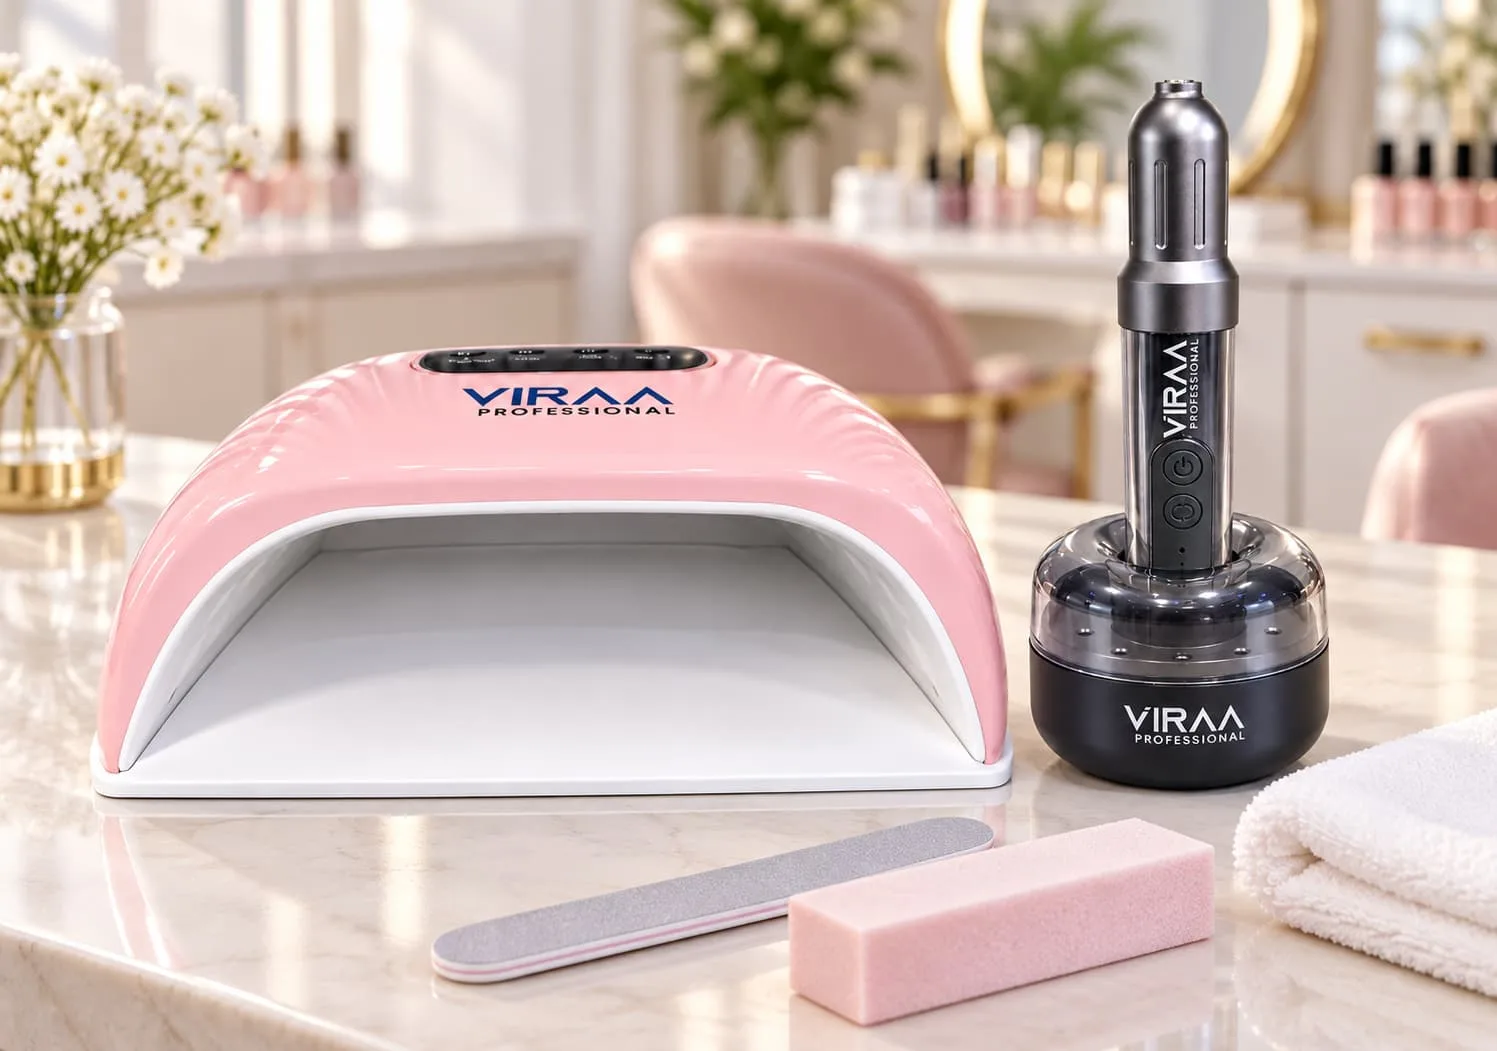
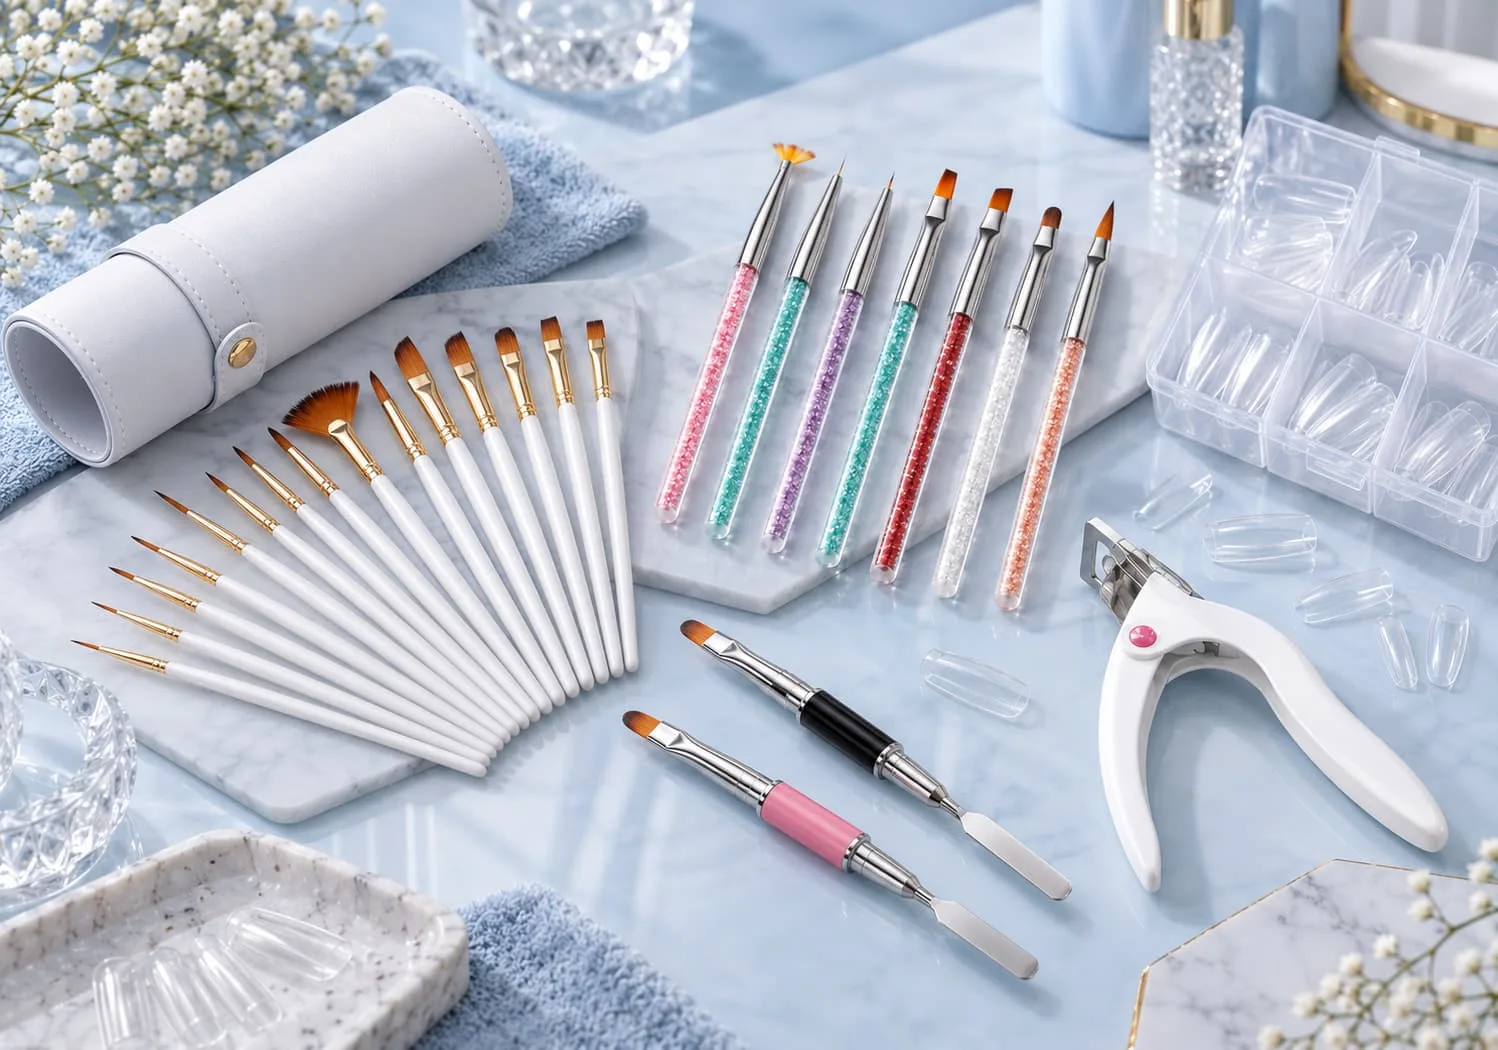
Using the wrong file. A coarse grit on a natural nail causes damage. Choose grits made for natural nails from your nail tools kit.
Troubleshooting Lifting With Prep in Mind
When a set lifts, note where the lifting starts. The location often points to the cause.
Where it lifts | Likely prep-related cause |
At the cuticle | Tissue left on the plate or product on the skin |
At the side walls | Product touching the skin or poor cleansing at the edges |
At the free edge | Edge not capped, or oils on the tip |
Whole nail in one piece | Oil or moisture on the plate, or no primer where needed |
Use these notes to adjust your routine, and keep a record for regular clients whose nails behave differently.
Prep Before Extensions and Structure Work
Prep matters even more when you build length or strength. Extensions, overlays and polygel sets carry more weight and take more stress than a thin gel manicure. Any weak spot in the bond shows up faster.
Follow the same core steps, then pay extra attention to three areas:
• The side walls. Clean and prepare the full width of the nail, right to the edges, so the structure grips everywhere.
• The free edge. When you fit a form or tip, make sure no oil or dust sits where the extension meets the natural nail.
• Timing. Move from prep to base promptly. The longer a prepared nail sits, the more chance it has to pick up oil or moisture.
After the base, finish the set with a top coat from the top coat collection and cap the free edge to seal it.
Making Prep a Team Habit
In a salon with several technicians, prep quality often varies from chair to chair. One person rushes tissue removal, another over-buffs, and a third touches the nail after cleansing. The result: some clients return with lifting and others do not.
Fix this with a written prep routine. Keep a short checklist at every station, and review it at team meetings. When a client reports lifting, check which technician did the service and walk through the steps together. Treat it as training, not blame. Over a few weeks, lifting complaints usually drop.
Prep for Different Clients
Some clients have oily nail plates. Others have thin or damaged nails from past services. A few simple adjustments help:
• Oily nail plates. Take extra care with cleansing and dehydrating, and follow the system’s guidance on primer.
• Thin or damaged nails. Buff very lightly or skip heavy buffing altogether. Consider a strengthening base.
• Clients who wash their hands often. Remind them to wear gloves for cleaning and dishwashing.
Final Thoughts
Prep takes only a few minutes, but it decides how long every gel service lasts. Clean, dry, properly prepared nails give your base coat the grip it needs. Follow a consistent sequence, avoid over-buffing, and keep your hands off the plate once you cleanse.
Explore the Viraa Professional prep system collection to build a prep routine that gives every gel manicure a stronger start.
Reference Links
Reference | Relevance | Link |
Prep System Collection | Viraa Professional nail prep products | |
Gel Polish Collection | Gel colours that rely on good prep | |
Top Coat Collection | Base and top coats that complete the system | |
Nail Tools Collection | Pushers, files and buffers used during prep |