Why a Gel Base and Top Coat Set Decides How Long a Manicure Lasts
29 Sep 2026 · 7 min read
Clients pick the colour, but two clear bottles do most of the work. The base coat holds the manicure onto the nail, and the top coat protects it from daily wear. When these two products come from a matched gel base and top coat set, their maker designs them to bond with each other and with the colour in between. This guide explains what each coat does, the main types available, and how salons can choose a pair that gives clients longer, glossier wear.
The Gel Manicure Sandwich
Think of a gel manicure as a sandwich with three layers:
1. Base coat. The bottom layer grips the prepared natural nail.
2. Colour. The middle layer carries the shade.
3. Top coat. The top layer seals everything and adds the finish.
Each layer needs to bond with the one next to it. If the base does not grip the nail, the whole manicure lifts. If the top coat does not bond to the colour, it can peel or lose shine. That is why the base and top coat matter just as much as the colour your client chooses.
What a Gel Base Coat Does
A base coat creates the link between the natural nail and the colour. It helps the gel grip, gives the colour an even surface and protects the nail plate from direct contact with pigment.
Common types of base coat
Standard gel base. A thin, easy-flowing base for everyday gel manicures on healthy natural nails.
Rubber base. A thicker, more flexible base that many technicians use to add a little strength and to smooth out small ridges. Some brands also use it for short overlays.
Builder-style base. Some bases sit between a base coat and a builder gel, giving extra structure to weak or thin nails.
Brands use these names differently, so read each product’s directions to understand how its maker intends you to use it.
What a Gel Top Coat Does
A top coat seals the colour, protects it from scratches and gives the final look. It also takes the most wear from typing, washing, cooking and daily life.
Common types of top coat
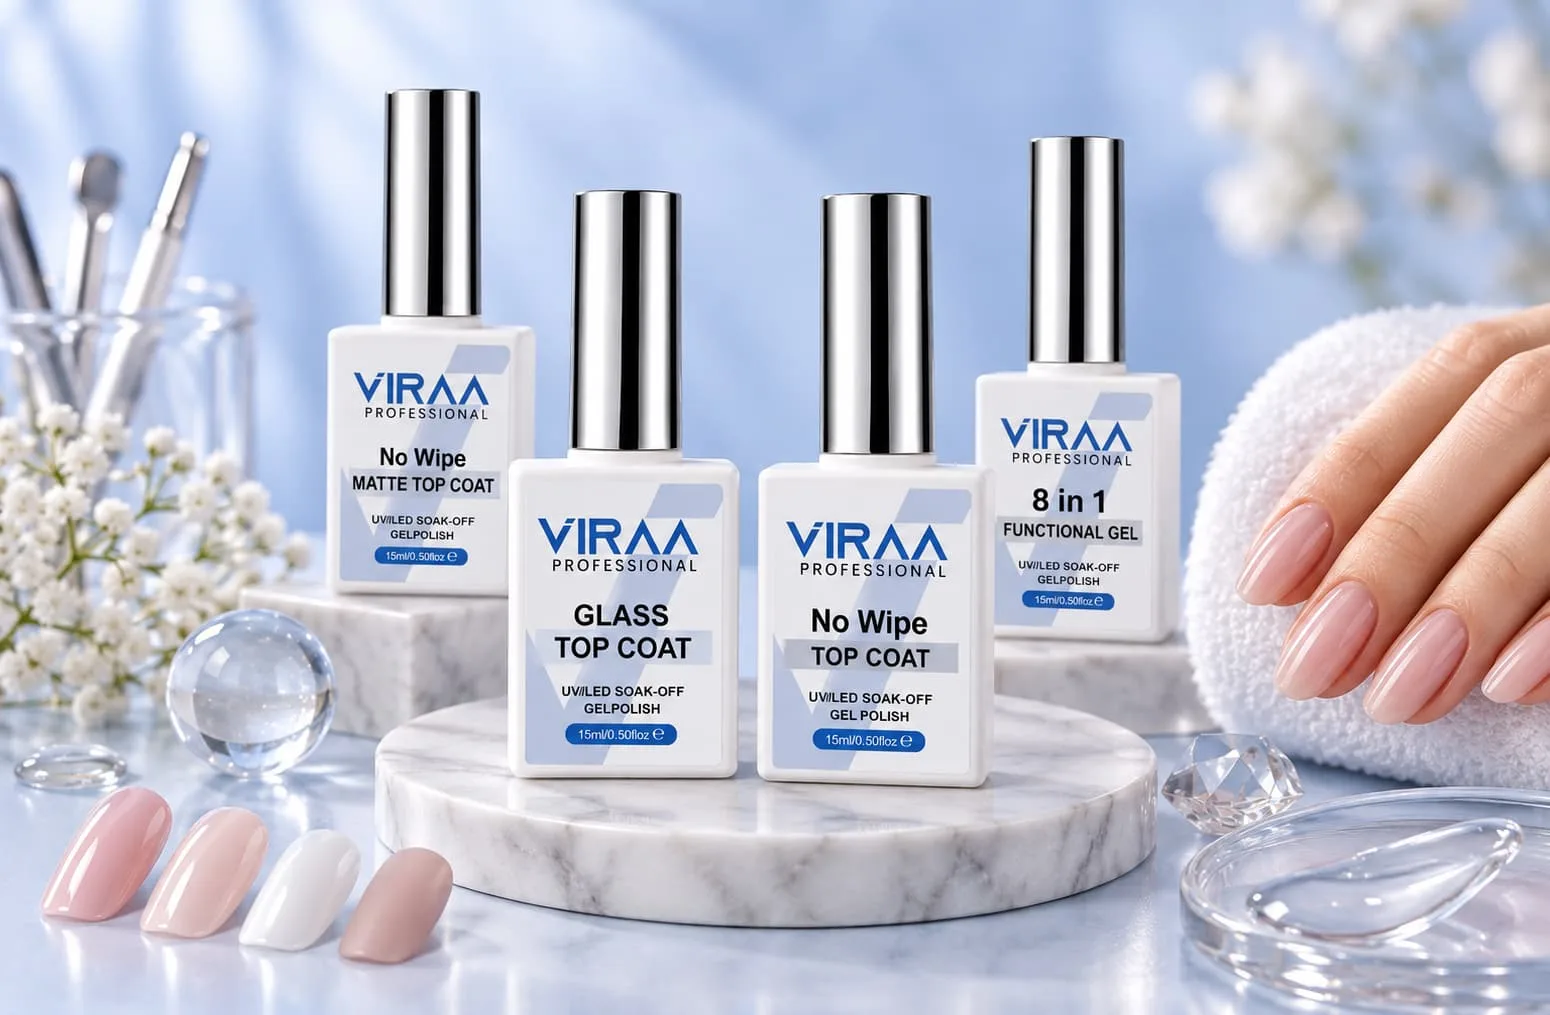
Wipe top coat. Leaves a sticky layer after curing, which you remove with a cleanser.
No-wipe top coat. Cures to a finished shine with no sticky layer to wipe away. Many salons prefer it for speed.
Matte top coat. Gives a soft, velvet finish instead of gloss.
High-gloss or ultra shine top coat. Focuses on a deep, glass-like shine. Clients who love a polished, mirror look often ask for this finish by name.
Viraa Professional offers top coat options in its top coat collection, including the Super Shine Top Coat for clients who want maximum gloss.
Why Buy a Gel Base and Top Coat Set?
Buying the base and top coat as a pair from one brand offers several practical benefits.
Better bonding. The maker designs the pair to work with each other and with its own gel colours. That reduces the risk of peeling between layers.
Consistent curing. Products from one system usually share similar curing guidance, which makes timing easier to manage at the lamp.
Simpler training. Your whole team learns one method instead of juggling different directions for different brands.
Easier troubleshooting. When a manicure fails, you have fewer variables to check.
Mixing brands can work, but you should always test a mixed combination on practice tips and team members before using it on clients.
How to Choose the Right Set for Your Salon
Match your base and top coat to the services you sell most.
Your main service | Base to consider | Top coat to consider |
Quick gel manicures | Standard gel base | No-wipe gloss top coat |
Clients with weak or uneven nails | Rubber base or builder-style base | Gloss or ultra shine top coat |
Nail art and chrome | Base that suits your art system | No-wipe top coat that suits chrome or foil |
Trend and texture looks | Standard or rubber base | Matte top coat |
Before you buy, check:
• The curing guidance for both products and your lamp
• Whether the base suits the natural nails you see most often
• Whether the top coat gives the finish your clients ask for
• Bottle size, since base and top coat usually run out faster than colours
Application Tips That Help the Pair Perform
Even the best set fails with rushed technique. These habits make a real difference.
Prep comes first. A base coat can only grip a clean, dry, properly prepared nail. Start with a reliable prep system and follow each step.
Keep the base thin. A thin base coat cures more reliably. Work it into the nail plate and keep it off the cuticle and skin.
Cap the free edge. Run the brush lightly along the tip of the nail with both the base and the top coat. This seals the edge and helps prevent chipping.
Do not flood the cuticle. Gel on the skin can cause lifting and may increase the risk of sensitivity.
Cure each layer fully. Follow the curing guidance for each product and your lamp. Under-cured layers can wrinkle, feel soft or lose shine.
Apply the top coat evenly. A smooth, even top coat gives better shine and fewer weak spots.
Common Problems and What They Usually Mean
Peeling in one sheet. The base did not grip the natural nail. Review prep and check for oils or moisture on the nail plate.
Chips at the tips. The free edge was not capped, or the top coat was too thin at the edge.
Dull shine after a few days. The top coat may not have cured fully, or it may not suit the colour system underneath.
Lifting near the cuticle. Product touched the skin or cuticle, or prep skipped that area.
Sticky finish on a no-wipe top coat. The lamp may not suit the product, or the layer needed more curing.
Most of these problems trace back to prep, thickness or curing rather than the product alone.
Matching the Pair to Different Nail Types
Clients do not all arrive with the same nails. Adjust your base and top coat choice to what you see on the table.
Healthy, strong nails. A standard gel base and a no-wipe gloss top coat usually do the job. Keep both layers thin and even.
Thin or bendy nails. A flexible rubber base or a builder-style base adds support. Some technicians add a light structure layer before colour for extra strength.
Ridged or uneven nails. A thicker base can level small ridges, so the colour sits smoothly. Avoid heavy buffing to fix ridges, since it thins the nail plate.
Short, active hands. Clients who type, cook or work with their hands a lot need strong edge sealing. Cap the free edge carefully with both coats.
Clients who love shine. Finish with a high-gloss top coat and make sure it cures fully. Pair it with a smooth, well-applied gel polish layer, because any bumps in the colour show through the shine.
Keep a short note on each regular client’s card about which base worked best. Over time, these notes help your team make faster, better choices at every appointment.
How Often Should Salons Restock Base and Top Coat?
Every gel manicure uses base and top coat, while each colour only appears on some clients. That means these two bottles run out much faster than any single shade. Track how many services you perform each week and reorder the pair together before you run low. Running out of top coat mid-week can stop your entire gel menu.
Final Buying Considerations
A matched gel base and top coat set gives your colour the best chance to last. Choose a base that suits your clients’ natural nails, a top coat that gives the finish they love, and make sure both suit your lamp. Test them properly, train your team on one method and reorder them as a pair.
Explore the Viraa Professional top coat collection to find the finish your clients want and build a base and top coat routine that keeps every manicure looking fresh.
Reference Links
Reference | Relevance | Link |
Top Coat Collection | Viraa Professional base and top coat options | |
Super Shine Top Coat | High-gloss top coat product page | |
Gel Polish Collection | Colour gels that sit between base and top coat | |
Prep System Collection | Prep products that help the base coat grip |