Builder Gel in the Salon: A Practical Workflow From Prep to Refill
14 Oct 2026 · 7 min read
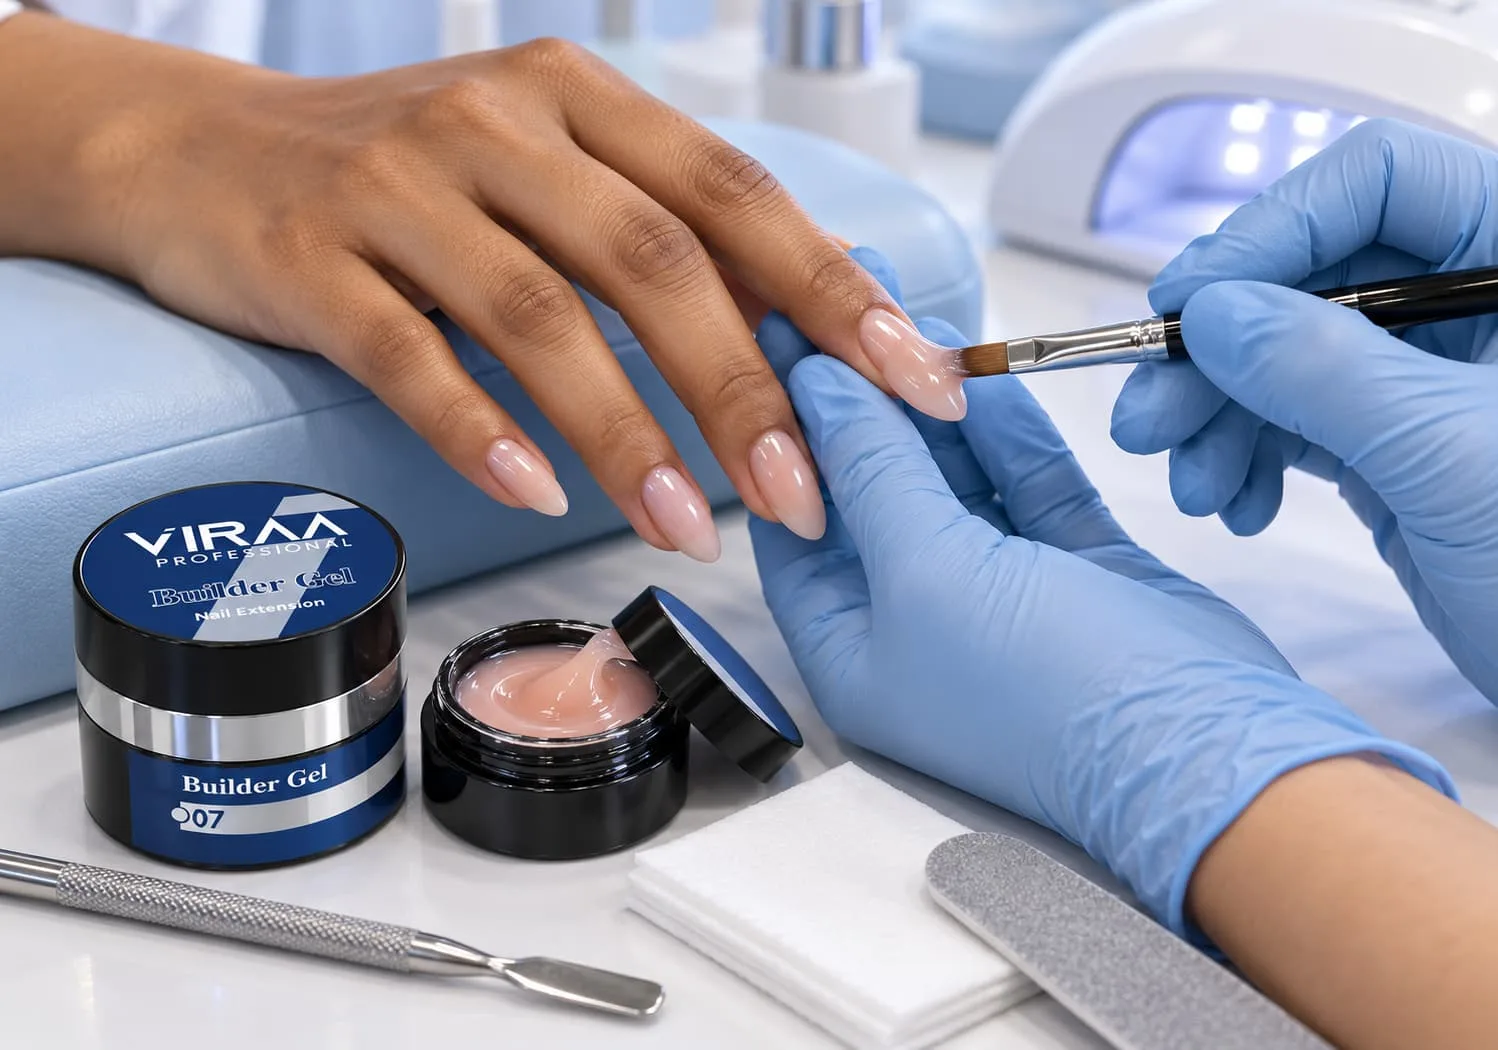
Many clients now ask for “strong natural nails” rather than long extensions. Builder gel answers that request. This guide focuses on how to use builder gel for professional salon services, step by step. It covers when to choose it, how to build a strong structure, how to handle refills and what to do when something goes wrong. For the technical side, including viscosity, curing and HEMA-free formulas, read Viraa’s companion article on professional builder gel.
What Builder Gel Does in a Salon Menu
Builder gel is a thicker gel that adds strength and structure to the nail. Technicians use it for several services:
• Overlays on natural nails to reduce breaks and bending
• Short extensions built on forms or tips
• Structure under gel colour for clients with thin or weak nails
• Refills that let clients grow their natural nails over time
Its thicker, often self-levelling texture helps you create a smooth surface and a proper apex, the highest point of the nail that gives it strength.
For many salons, a builder gel for professional strengthening services also brings clients back more often. Refills create a regular booking cycle, which helps you plan your week and build loyalty. That makes builder gel one of the most valuable services to get right.
Step 1: The Consultation
Every good builder gel service starts with a short conversation. Ask the client:
• What problem do you want to solve? Breaking, peeling, bending or length?
• What do you do with your hands every day?
• Have you had any reactions to nail products before?
• How often can you come back for refills?
Look at the nails too. Check for thinness, damage, lifting from past services and any signs of infection or injury. If you see signs of a medical problem, do not proceed, and suggest the client sees a doctor.
The answers help you decide between a thin strengthening overlay, a fuller structured overlay or a short extension.
Step 2: Prep the Natural Nail
Builder gel only performs as well as the prep underneath it. Follow your usual sequence:
1. Push back the cuticle and remove non-living tissue from the nail plate.
2. Shape the free edge with a gentle grit.
3. Lightly remove the shine from the nail plate.
4. Remove all dust.
5. Cleanse and dehydrate, then apply primer if your system requires it.
Keep hands off the nail plate once you cleanse. For a matched set of prep products, see Viraa’s prep system collection.
Step 3: Apply the Base Layer
Many technicians start with a thin first layer of builder gel or a base coat, worked well into the nail plate. This layer creates the bond with the natural nail. Keep it thin and away from the skin, then cure it according to the product directions.
Step 4: Build the Structure
This step decides how strong and natural the finished nail looks.
Place a bead. Pick up a small bead of builder gel and place it in the centre of the nail, slightly away from the cuticle.
Let it level. Guide the gel gently toward the cuticle and side walls, leaving a small gap from the skin. Many builder gels self-level, so give the product a moment to settle.
Create the apex. Aim for the highest point around the stress area of the nail, where the nail usually bends or breaks.
Check the profile. Look at the nail from the side and from the tip. The curve should look smooth and even.
Cure. Follow the curing guidance for your gel and lamp. Some technicians flash cure briefly to hold the shape, then complete the full cure.
Work one or two nails at a time, especially while you are learning, so the gel does not move before curing.
Step 5: Refine and Finish
After curing, remove any sticky layer if the product has one. Then file gently to refine the shape and smooth the surface. Avoid filing through the apex, since that removes the strength you just built.
Finish with gel colour and top coat, or leave the nail with a clear or natural-looking finish. Cap the free edge to seal it.
Step 6: Aftercare Advice
Clear aftercare helps the set last. Tell clients to:
• Wear gloves for cleaning and washing dishes
• Use cuticle oil daily
• Avoid using nails as tools to open cans or scrape labels
• Return for refills on schedule
• Avoid picking or peeling if lifting appears
Step 7: The Refill Appointment
Refills keep the structure balanced as the natural nail grows. As the nail grows, the apex moves forward and the nail can become weaker at the stress area.
A typical refill follows these steps:
1. Check for lifting and remove any lifted product.
2. File down the bulk of the old gel, leaving a thin, well-bonded layer.
3. Prep the new growth at the cuticle area.
4. Rebalance the nail by rebuilding the apex in the right place.
5. Cure, refine and finish.
Refills protect the natural nail better than full removal and reapplication every visit, because they reduce repeated filing on the nail plate.
Safe Removal
Removal methods depend on the product. Some builder gels are soak-off, and others need filing. Always follow the directions for the product you use. Whatever the method, take your time. Rushing removal can thin and damage the natural nail.
Booking and Pricing Builder Gel Services
Builder gel services take longer than a standard gel manicure, especially while your team builds speed. Book enough time for a careful first appointment, since that set becomes the foundation for every refill after it.
Many salons price builder gel in three parts:
• New set. The full service, including consultation, prep and structure.
• Refill. A shorter service that rebalances the nail as it grows.
• Removal. A separate service for clients who want to take the product off.
Track how long each service takes your team and how much product it uses. Those two numbers help you set fair prices and spot where training could save time.
Training Your Team on One Method
Builder gel rewards consistency. If three technicians build three different shapes, clients notice. Choose one method for bead placement, apex position and refill steps, and train everyone on it. Practise on tips first, then on team members, and review the side profile of each set together. A shared method also makes it easier to solve problems, because everyone speaks the same language.
Common Builder Gel Problems and Fixes
Problem | Likely cause | Fix |
Lifting at the cuticle | Tissue left on the plate or gel on the skin | Improve prep and leave a small gap from the skin |
Nail breaks at the stress area | Apex too thin or in the wrong place | Build the apex over the stress area |
Bumpy surface | Gel moved before curing or poor levelling | Work fewer nails at a time and let the gel settle |
Heat during curing | Thick layer cured at once | Apply thinner layers and follow the lamp’s curing guidance |
Soft or sticky finish | Under-curing or lamp mismatch | Check curing time and lamp compatibility |
How to Choose a Builder Gel for Professional Salon Use
When you compare products, check:
• Viscosity. Thicker gels hold shape well for extensions. Softer gels suit thin overlays.
• Curing guidance. Confirm your lamp suits the product.
• Removal method. Decide whether soak-off or file-off suits your salon.
• Shade options. Clear, nude and pink shades suit natural-looking sets.
• Ingredient information. Some clients prefer HEMA-free products. Check the label.
You can view the details of Viraa’s builder gel on its builder gel product page and pair it with a suitable lamp from the UV lamp collection.
Final Thoughts
Builder gel lets you offer strong, natural-looking nails that grow with the client. Consult carefully, prep thoroughly, build the apex in the right place and keep clients on a steady refill schedule. With practice, it becomes one of the most reliable services on your menu.
Explore Viraa Professional builder gel and add a strengthening service that keeps your clients’ nails strong between visits.
Reference Links
Reference | Relevance | Link |
Builder Gel Product Page | Viraa Professional builder gel details | |
Professional Builder Gel Guide (Viraa Blog) | Viscosity, curing and HEMA-free information | https://viraaprofessional.com/blogs/news/builder-gel-professional |
Prep System Collection | Prep products for builder gel services | |
UV Lamp Collection | Curing lamps for builder gel |