Polygel Nail Extension Kit: What Goes In It and Why
21 Aug 2026 · VIRAA Professional · 3 min read
Search "polygel nail extension kit" and you will find boxes with thirty items in them, most of which you will never open. The core of an extension set is small. Everything else is either a preference or a filler.
Here is what actually earns its place.
The core, in the order you use it
Prep
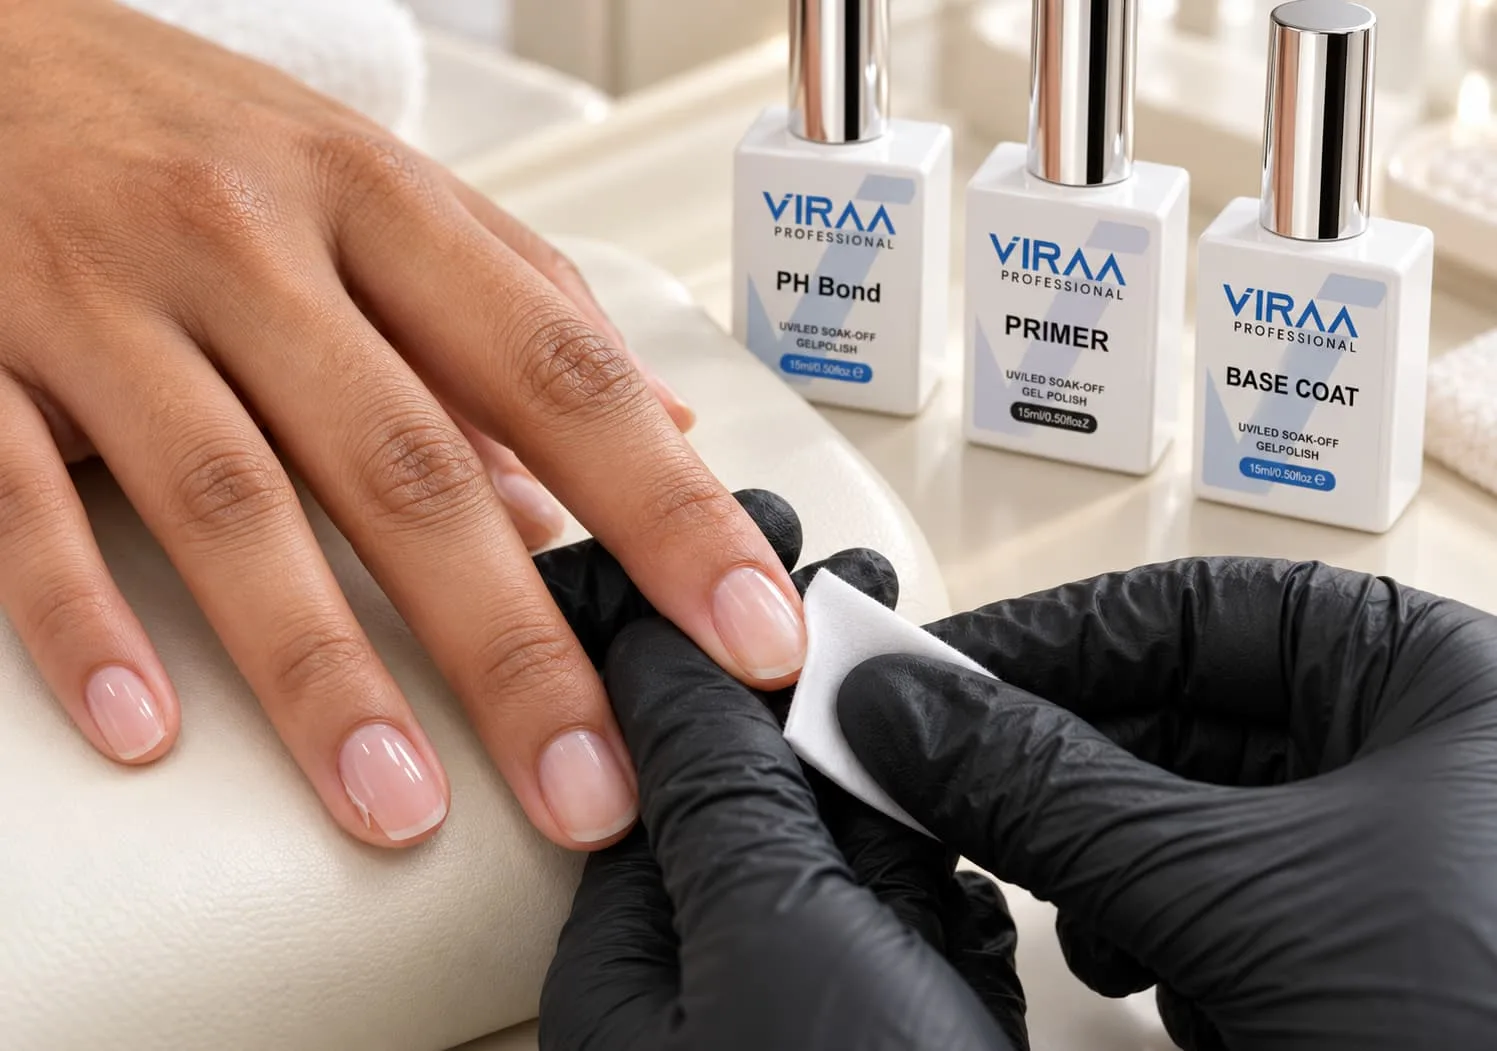
A cleanser and dehydrator, then an acid-free primer. This is the part beginners skip and then blame the product when the set lifts in a week. Our Pro Bond Primer is acid free, so it prepares the plate without etching it. The rest of the prep system is four bottles, and they decide whether the set survives.
Polygel
The tube itself. VIRAA Polygel comes in 30gm and 60gm — the 30gm is the sensible first purchase in a shade you will actually use, and clear is the most useful single tube for learning because you can see your own structure through it.
Slip solution and a dual-ended brush
The brush moves the product, the spatula end cuts and places it. A polygel brush has a firmer bristle than a gel brush for a reason — a soft brush cannot push polygel where you want it. Do not substitute alcohol for slip solution; it drags.
Forms or tips
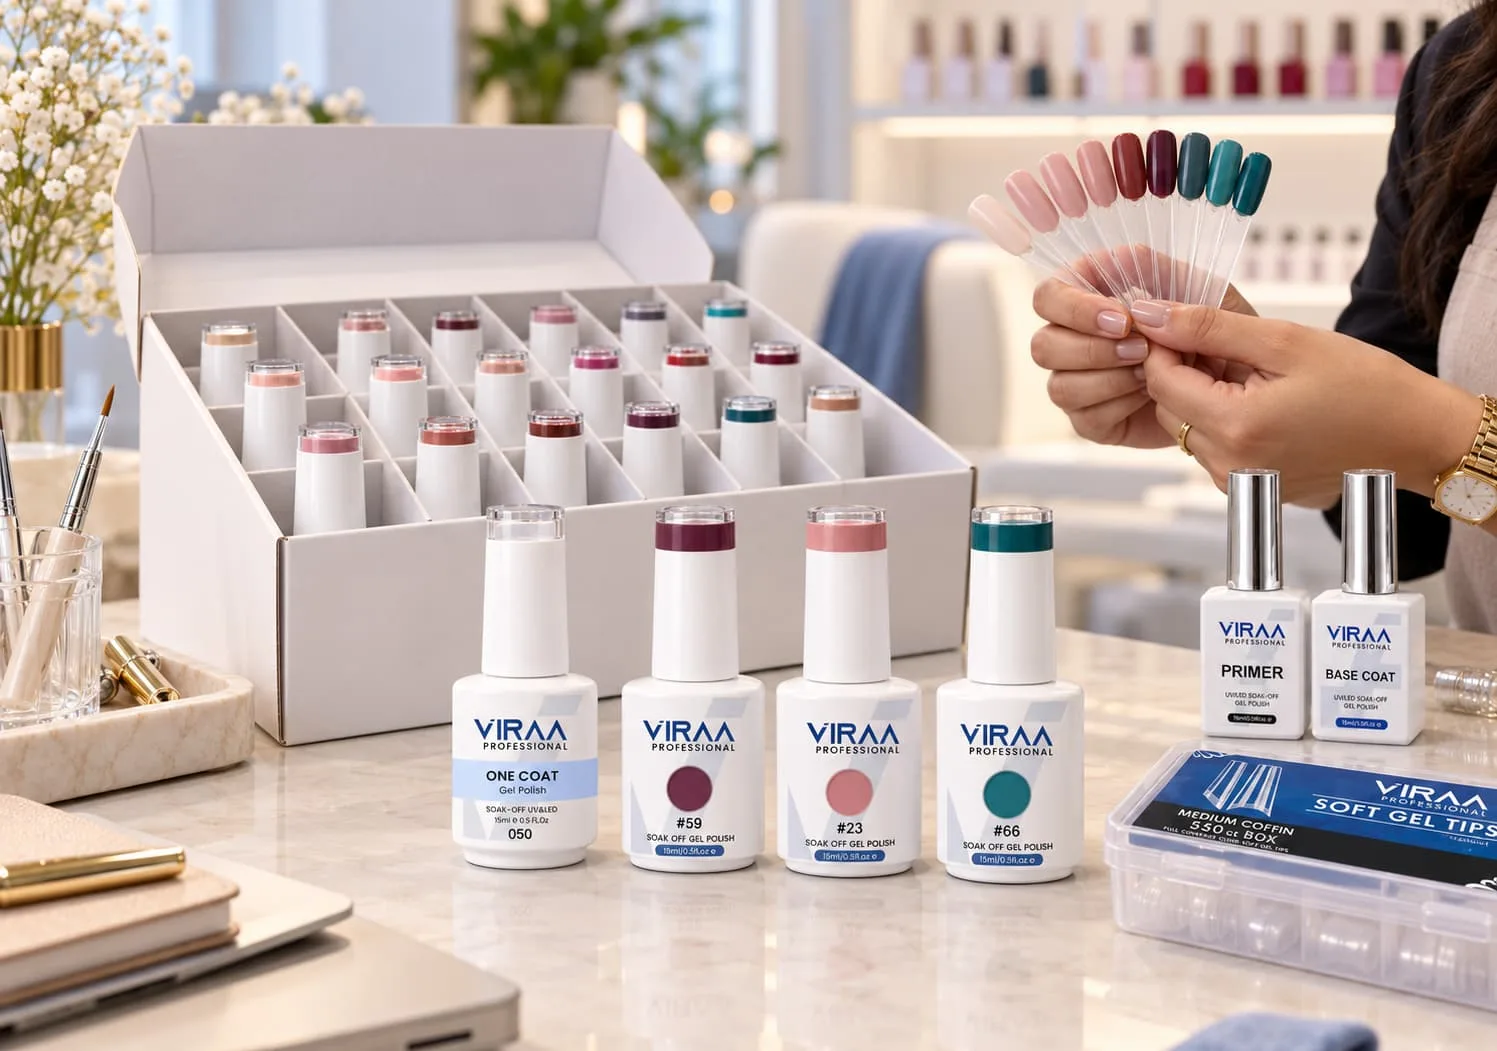
Dual forms give a smoother underside with less filing. Tips give more control over length and shape. Most technicians end up using both depending on the client's nail bed — our extension range has both, and the 550-piece tip boxes are what a working salon gets through.
A lamp that will cure it
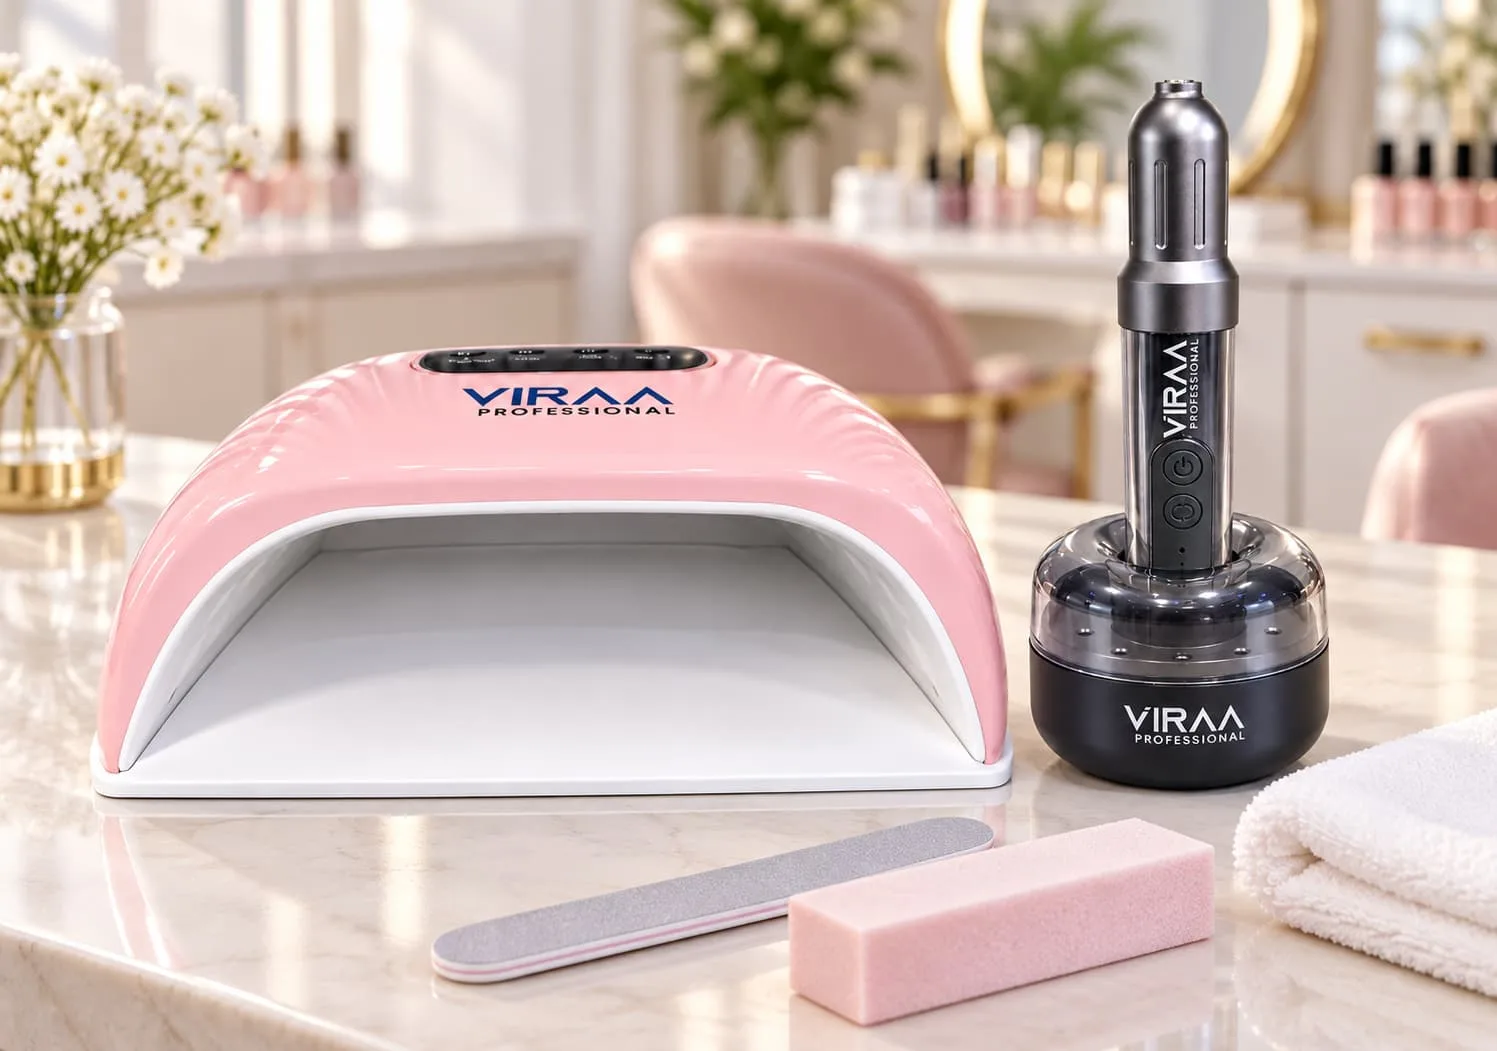
This is where kits cut corners. Polygel is applied thicker than gel polish, and a weak lamp cures the surface while leaving the layer underneath soft — which is exactly how a set lifts cleanly off in one piece a fortnight later. Our lamps start at 66W.
Top coat
Seal it. A no-wipe top coat saves a step and a wipe.
What you can skip at the start
- Twelve polygel shades. Buy one clear and one nude. You will learn structure faster in clear.
- Decorative anything. Rhinestones do not teach you an apex.
- The plastic file in the box. Buy a decent file and buffer separately; the ones bundled into kits are the cheapest part of them.
The three mistakes that cost a set
- Too much product at the cuticle. Polygel should be thinnest where it meets the skin. Bulk there is what lifts.
- Building the apex in the wrong place. The high point sits over the stress area, not at the free edge. Look at the nail from the side, not from above.
- Rushing the cure. Thicker product, longer cure. If the surface is tacky and the underside is soft, it was not in the lamp long enough.
Polygel or builder gel?
They overlap, and which you reach for depends on the nail in front of you. We wrote a whole piece on which to learn first, and a companion on what makes a builder gel professional grade.
Short version: builder gel for strengthening and short overlays, polygel for length. If you are buying one to start, buy the one that matches the work you are actually being asked for.