Polygel Nail Extension Kit: What’s Inside and How to Choose One
29 Sep 2026 · 7 min read
Polygel has become a favourite for technicians who want strong extensions without the rush of working with liquid and powder. A good polygel nail extension kit puts every tool for that service in one box. However, kits vary a lot in what they include and how useful each item turns out to be. This guide explains each part of a kit, compares polygel with builder gel, and shows you how to choose a kit that fits your skill level and services.
What Is Polygel?
Polygel is a hybrid nail enhancement product. It combines features of acrylic and gel into a thick, putty-like paste that usually comes in a tube.
Here is what makes it different to work with:
• It does not self-level, so it stays where you place it.
• You shape it with a brush or tool dipped in slip solution.
• It does not harden until you cure it under a suitable lamp.
• It does not need a separate liquid monomer, unlike traditional acrylic.
That last point gives polygel its main appeal. You get time to shape each nail carefully before curing, which suits students and technicians who value control.
What’s Inside a Polygel Nail Extension Kit?
Kits differ between brands, but most useful kits include some version of the items below.
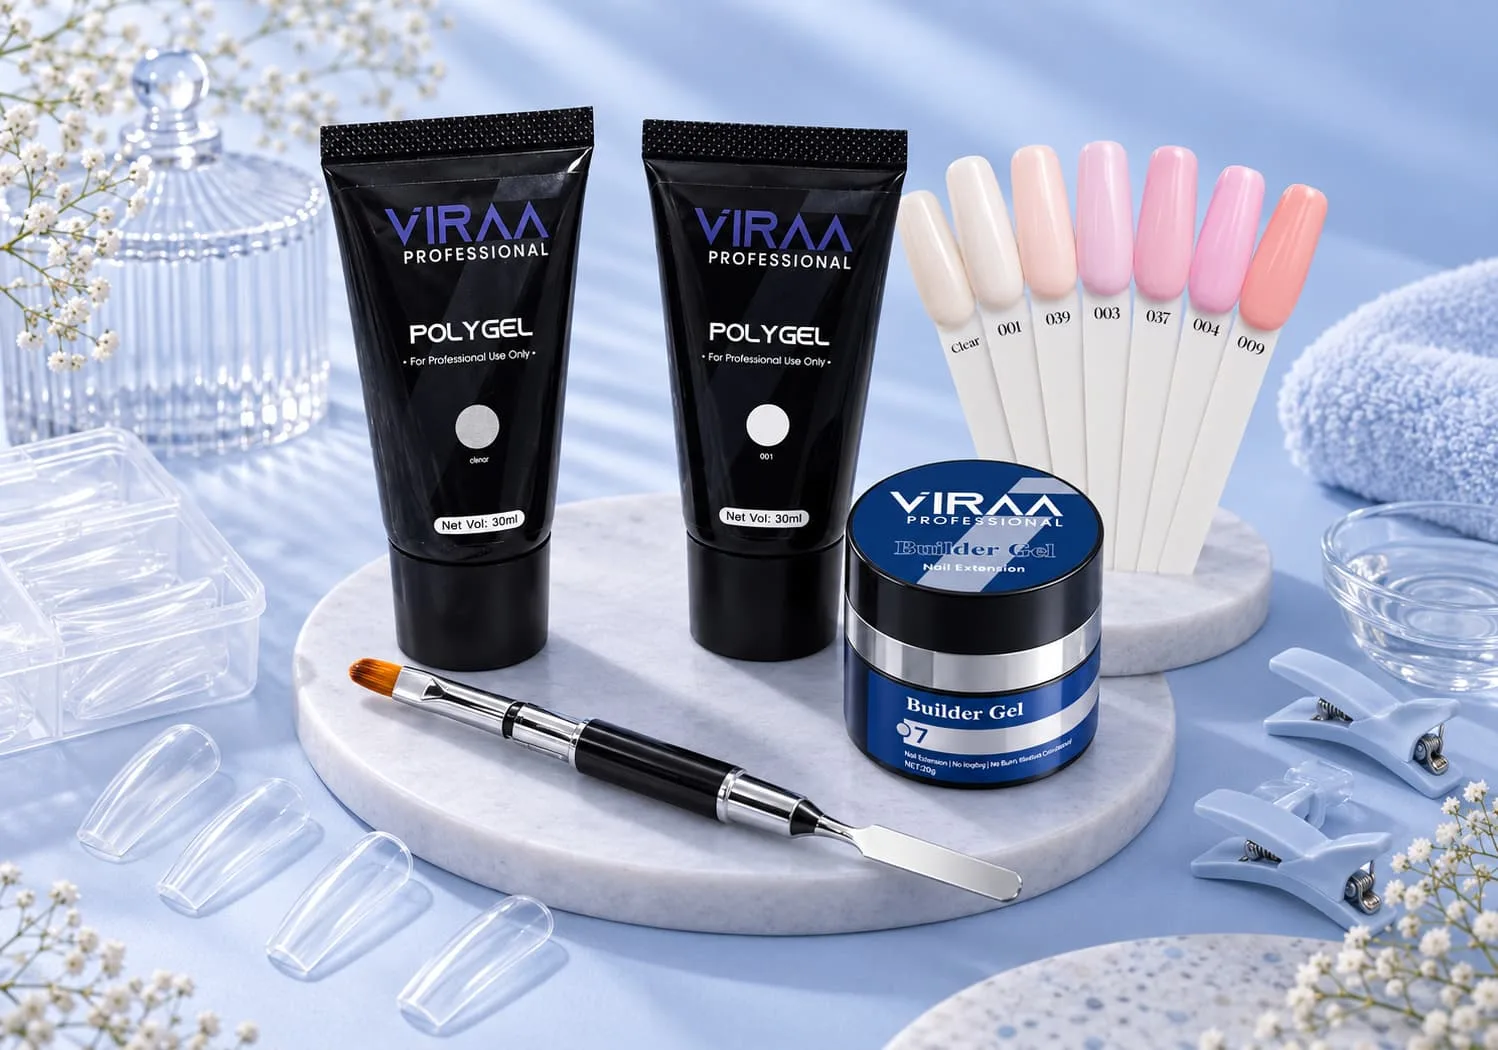
Polygel tubes
The main product. Kits usually include clear, nude or pink shades for natural-looking extensions, and sometimes colours or glitter options.
Slip solution
This liquid stops polygel from sticking to your brush or tool while you shape it. Use only a small amount, since too much can weaken the product.
Dual forms
Dual forms are reusable moulds. You fill the form with polygel, press it onto the prepared nail, cure it, then remove the form. They help beginners create even shapes quickly.
Dual-ended brush and spatula
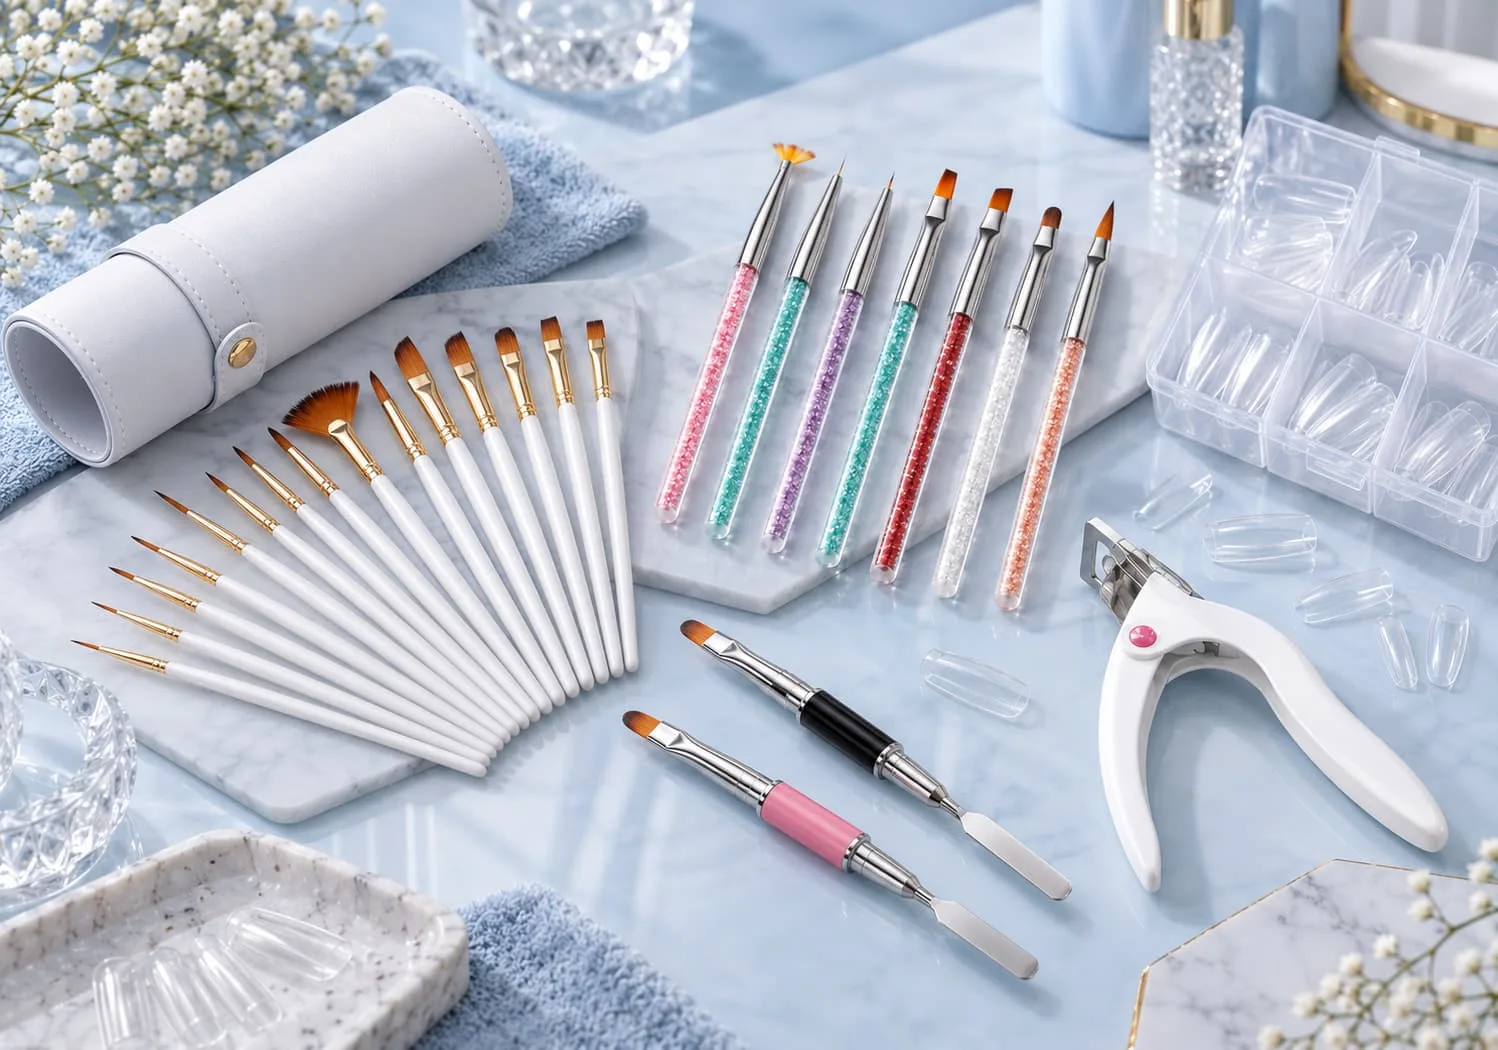
A flat brush smooths and shapes the product, while the spatula end picks up and places it. This tool gets the most use in the whole kit.
Base and top coat
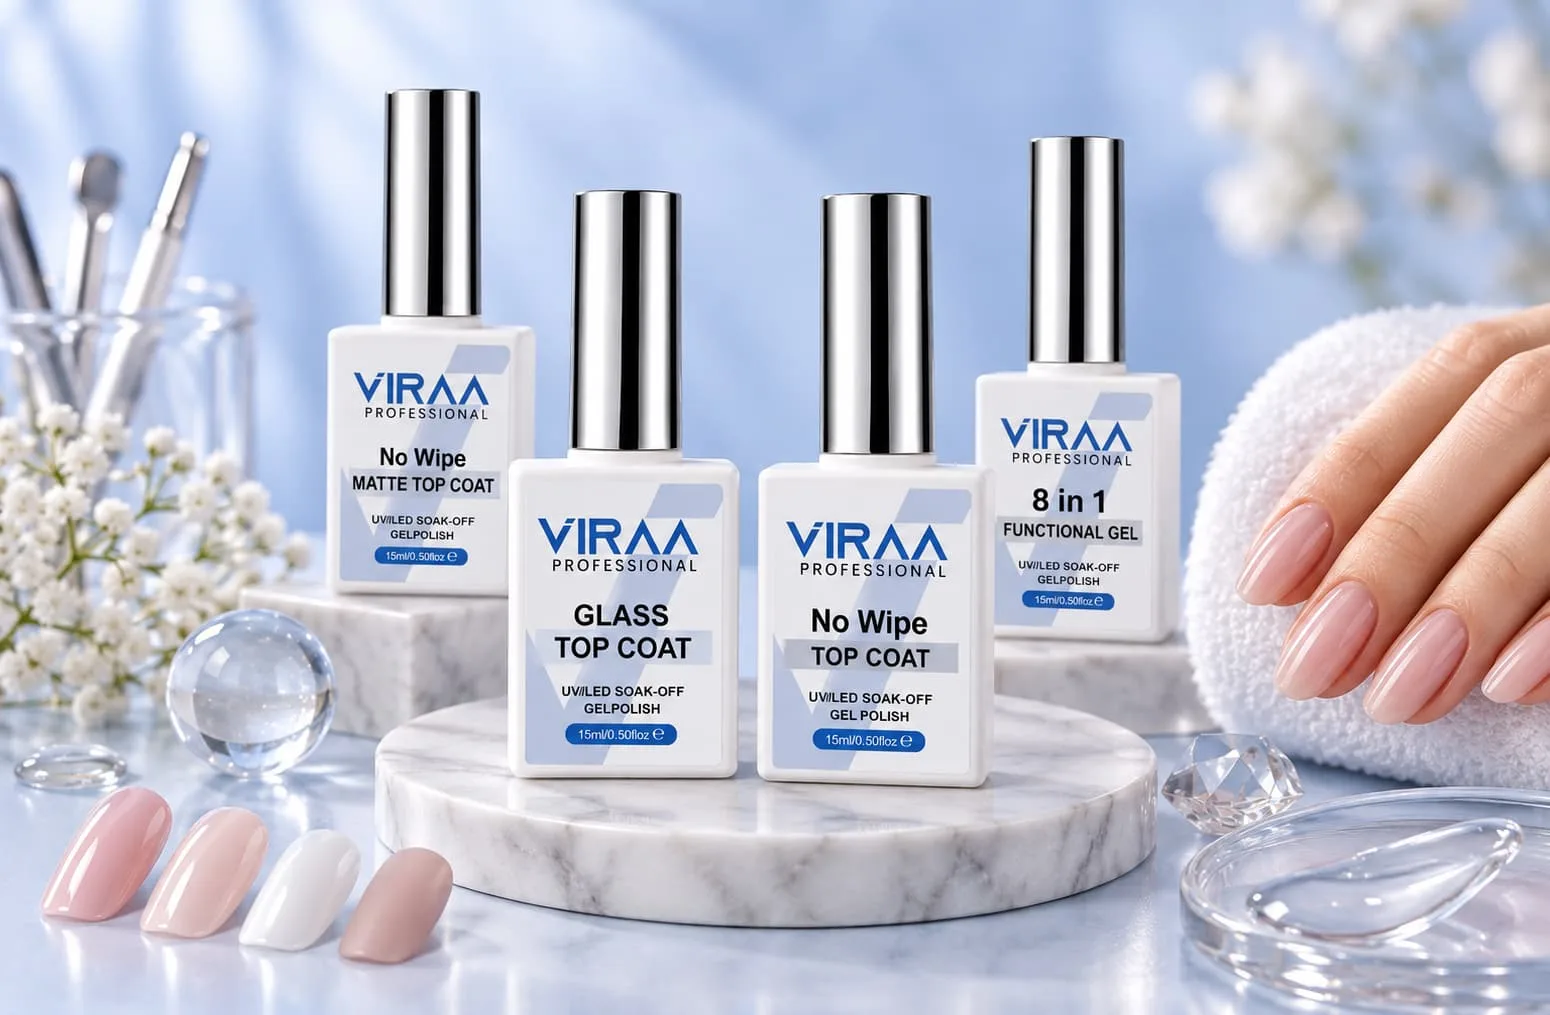
Many kits include a base coat to help the polygel adhere and a top coat to seal and shine the finished nail.
Files and buffers
You will need these to refine the shape after curing and to prepare the natural nail before you start.
Curing lamp
Some kits include a lamp, while others assume you already own one. If a kit does not include one, check that your existing lamp suits the product’s curing guidance.
Before you buy, read the product details carefully to see exactly which items a kit contains. Viraa Professional lists its structure products in the nail extension collection, where you can compare what each option offers.
Polygel vs Builder Gel: Which Should You Use?
Technicians often ask whether they need polygel, builder gel, or both. Each product has strengths, and many salons keep both on the shelf.
Factor | Polygel | Builder gel |
Texture | Thick paste, does not self-level | Thick gel, often self-levelling |
Shaping | Shaped with slip solution and brush | Shaped with a brush, flows into place |
Working time | Stays in place until cured | Can move if left too long before curing |
Common uses | Extensions with dual forms, sculpting | Overlays, strengthening, extensions, refills |
Learning curve | Friendly for dual form beginners | Needs brush control for self-levelling |
A professional builder gel works well for strengthening natural nails and for overlays, where its self-levelling helps create a smooth surface. Polygel shines when you want to sculpt length with extra control. If you want to add builder gel to your kit, you can explore Viraa’s builder gel product page for details.
How a Polygel Extension Works: The Basic Steps
Every educator teaches slightly differently, but the core process looks like this:
1. Prep the natural nail. Push back the cuticle, remove shine from the nail plate, cleanse and apply your chosen prep products.
2. Apply a base coat. Cure it as the label directs.
3. Load the dual form. Place a small amount of polygel into the form.
4. Shape with slip solution. Dip your brush lightly and spread the product evenly across the form.
5. Press onto the nail. Line the form up with the cuticle area and press gently.
6. Clean the edges. Remove any product that touches the skin.
7. Cure. Follow the curing guidance for your polygel and lamp.
8. Remove the form and refine. File the shape and smooth the surface.
9. Finish. Add colour if needed, then seal with top coat.
Practise on tips before you work on clients. The pressing and alignment steps take the longest to master.
How to Choose the Right Polygel Nail Extension Kit
Not every kit suits every buyer. Match the kit to where you are in your career.
For students and beginners. Look for a kit with dual forms, a dual-ended tool, slip solution, a base and top coat, and a few natural shades. This setup teaches the full process without extra cost.
For working technicians. You may already own a lamp, files and top coats. In that case, focus on the polygel shades and tools you use most rather than paying for extras you already have.
For salons. Consider buying core polygel shades in larger quantities and building your own kit. This approach gives you more control over quality and cost.
Whatever your level, check these points:
• Clear instructions for use and curing
• Lamp compatibility
• Shade options that suit your client base
• Quality of the brush and forms
• Availability of refills, so you can reorder single items later
Common Polygel Mistakes to Avoid
Using too much slip solution. Excess liquid can make the product weak or cause bubbles. A light dip is enough.
Pressing the dual form unevenly. Uneven pressure creates thick and thin spots. Line up the form carefully before you press.
Leaving product on the skin. This can cause lifting and raises the risk of skin sensitivity. Clean the edges before curing.
Skipping prep. Polygel still needs a well-prepared nail to grip. Poor prep leads to early lifting.
Under-curing. A soft or sticky extension usually means it needs more curing time or a more suitable lamp.
Looking After Your Kit Between Clients
A kit only performs well if you look after it. Small habits here protect both your results and your clients.
Close every polygel tube tightly after use and store it away from heat and direct sunlight. Warm storage can change the texture of gel products. Keep slip solution capped too, since it can evaporate.
Clean your dual forms after every client. Remove any product residue, then follow your local hygiene rules for cleaning and disinfecting reusable tools. Replace forms that crack or warp, because a damaged form creates uneven extensions.
Wipe your brush clean after each use and store it with the bristles protected. A frayed brush makes smooth shaping much harder.
Treat files and buffers as consumables. They wear down and collect debris, so replace them on a regular schedule rather than waiting until they stop working.
Removal and Refills
Plan for the full life of the set, not just the first appointment. Clients will return for refills or removal, and both need the right approach.
For refills, file down the grown-out area, re-prep the exposed natural nail, and rebuild the structure where needed. For removal, follow the method in the product directions. Take your time, since rushing removal can thin and damage the natural nail. For deeper technical detail on structure gels, read Viraa’s professional builder gel guide.
Who Should Use a Polygel Kit?
Polygel kits suit nail students, new technicians building their extension skills, and salons that want an extension service with a gentler learning curve. Experienced artists also use polygel for quick sculpting and repairs. Home users can try polygel too, but results depend heavily on practice and proper prep.
Final Buying Considerations
A polygel nail extension kit should save you time, not fill a drawer with tools you never use. Read the contents list, confirm lamp compatibility, and choose shades your clients will actually wear. Pair the kit with good files and a reliable lamp from the UV lamp collection if you do not already own one.
Browse the Viraa Professional nail extension collection to compare polygel and structure products, and choose the kit that matches your skill level and your salon’s extension menu.
Reference Links
Reference | Relevance | Link |
Nail Extension Collection | Polygel and extension products from Viraa Professional | |
Builder Gel Product Page | Builder gel for overlays and structure | |
UV Lamp Collection | Curing lamps for polygel and gel products | |
Builder Gel Guide (Viraa Blog) | Viraa’s guide to builder gel viscosity, cure and HEMA-free formulas | https://viraaprofessional.com/blogs/news/builder-gel-professional |