Nail Art Brushes for Every Stage: How to Build Your Kit as Your Skills Grow
22 Oct 2026 · VIRAA Professional · 6 min read
Should you buy a big set of nail art brushes on day one, or start small? Start small. Most learners need two or three brushes for their first months, and the rest of the kit should follow the designs clients actually book.
This guide maps nail art brushes to skill stages. It also shows you how to check a brush before you buy it, so each rupee goes into a tool you will use.
Why a staged kit beats one big purchase
A 12-piece set looks like good value. But a beginner usually reaches for the same two brushes again and again, and the rest sit in the drawer. Some of them dry out or lose their shape before you ever need them.
Buying in stages also teaches you what you like. After a month of practice, you will know whether you prefer a short liner or a long one. You will also know if your hand tires with a thin handle. That knowledge makes your next purchase sharper.
Stage 1: The first month of practice
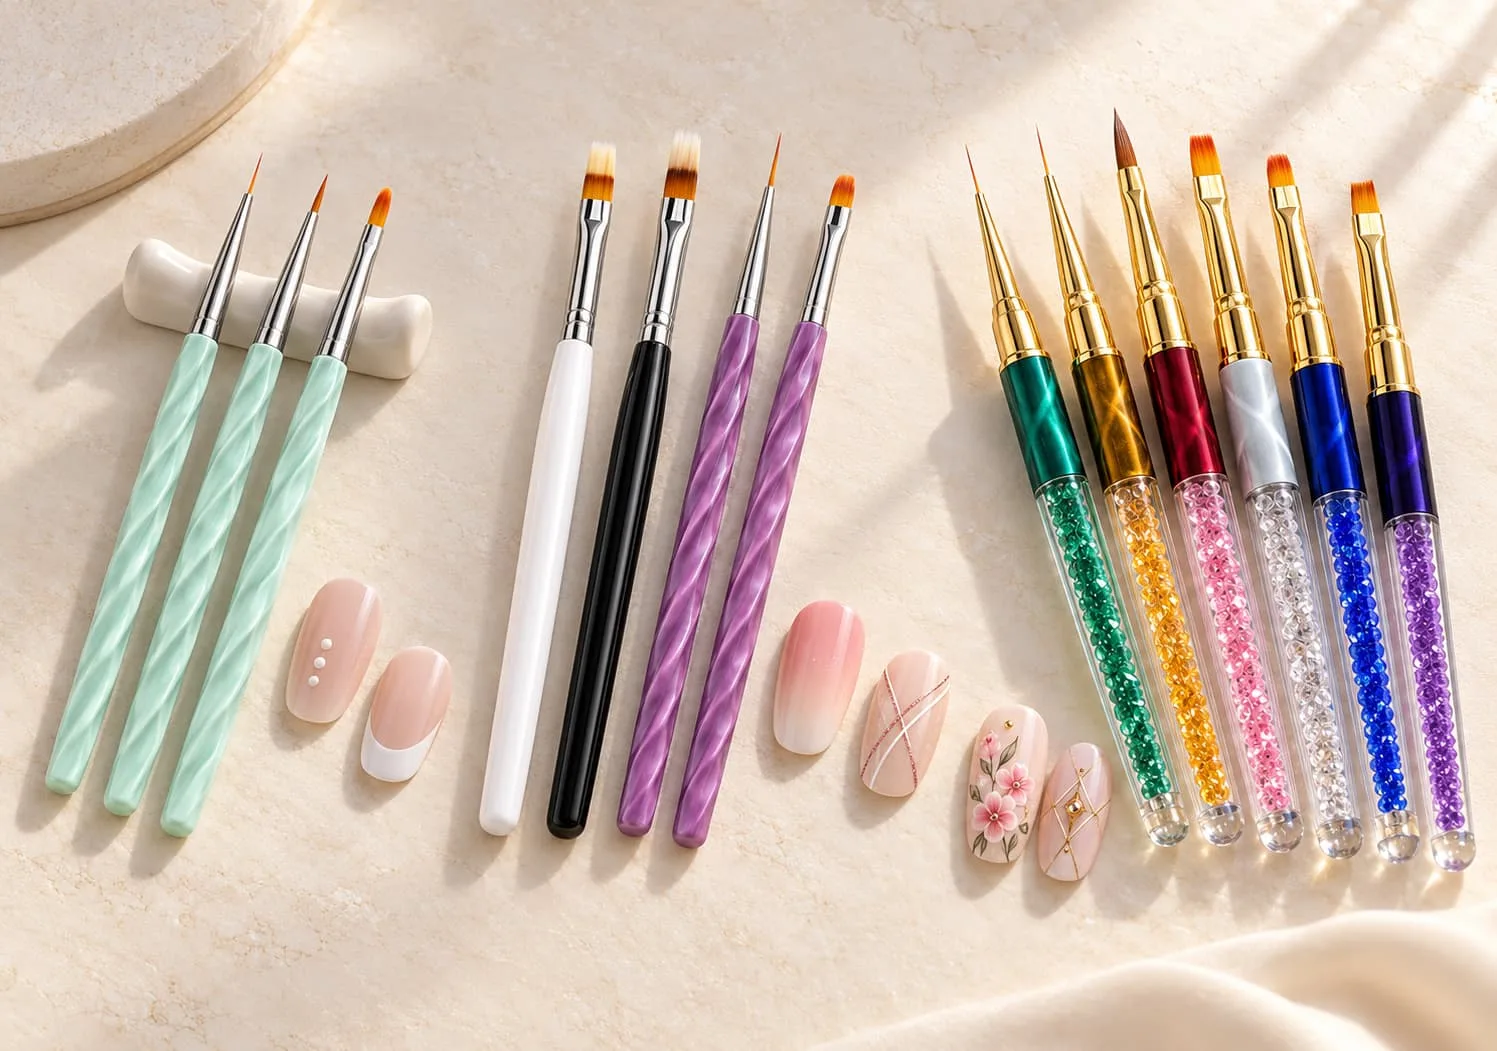
At this stage you are learning control. You want to pull a clean line, place a dot and fill a small shape. Three brush types cover nearly all of it:
• A short fine liner for outlines, French edges and small details.
• A longer striper for straight lines that run the length of the nail.
• A small flat or angled brush for cleaning edges and filling shapes.
A 3-piece nail art brush set usually gives you this mix in one buy. VIRAA Professional lists a few 3-piece options in its nail art brush collection, including a set with liners in three lengths.
Practise on tips or a practice stand rather than on friends. You will waste less gel and see your progress clearly.
Stage 2: Offering simple art to clients
Once clients start asking for designs, speed matters as much as neatness. Now an ombre brush earns its place. It blends two colours into a soft fade with strokes you control, which looks cleaner than a sponge on most gel work.
This is also the moment to think about a larger nail art brush set. When you do art every day, stopping to clean one brush for a second job slows the whole appointment. An 8-, 10- or 12-piece set gives you a dedicated brush for each common task.
What to add at this stage
Brush | What it does | When to buy it |
Ombre brush | Blends gradients and baby boomer fades | When clients ask for fades |
Detail brush with a sharp point | Florals, faces, tiny lettering | When designs get smaller |
Fan or wide flat brush | Sweeps glitter or pigment evenly | When you add effect work |
Larger multi-brush set | Separate brush for each task | When art becomes a daily service |
Stage 3: Building nails, not just painting them
Extensions need different brushes. A paint brush and a building brush do not do the same job, and using one for the other ruins both.
For polygel, look for a brush with a spatula on the other end. You scoop with the spatula, then shape with the brush. VIRAA Professional offers a 2-in-1 polygel brush built this way. For builder gel, a firmer gel brush helps you place and level product without dragging it.
If you are still deciding which system to learn, read builder gel vs polygel: which one to learn first before you buy. The answer changes which brush you need.
Stage 4: Acrylic work and the full kit
Acrylic uses a liquid and powder bead, so it needs a brush that holds liquid and releases it slowly. Acrylic brushes come in numbered sizes. A larger number means a larger belly, which carries a bigger bead.
The VIRAA Professional range includes a round Kolinsky acrylic brush and a flat-tip acrylic brush, each in sizes #8 and #10. A #8 suits smaller nails and detail work. A #10 suits longer sets where you want fewer beads per nail.
Technicians who work across gel, polygel, art and acrylic sometimes prefer one combined set. The range lists 5-piece and 7-piece sets that cover these systems together.
How to judge nail art brushes before you buy
Price alone does not tell you much. These checks do:
The tip. Look at product photos closely, or check the brush in person. A liner should come to a single point. A splayed or forked tip will never draw a crisp line.
The ferrule. This is the metal sleeve that holds the bristles. It should sit tight, with no wobble and no visible glue gap.
The handle. Weight and length change how your hand feels after three hours. A light handle suits fine work, while a heavier handle can steady longer strokes.
The bristle length. Short bristles give control. Long bristles hold more product and pull longer lines, but they need a steadier hand.
The cap. A cap protects the tip in your bag and keeps dust off between clients.
Common mistakes that shorten brush life
The biggest one is leaving gel on the bristles under a lamp. Gel cures wherever UV or LED light reaches it, so a stray brush can harden in seconds. Keep brushes away from the lamp opening.
Other mistakes are easy to fix:
1. Soaking the whole brush, metal and all, in cleanser. This can loosen the glue in the ferrule.
2. Storing brushes tip down in a cup. The bristles bend and stay bent.
3. Using an art liner to scoop polygel or press acrylic. Thin bristles cannot carry that weight.
4. Sharing one brush between gel colours without wiping it. Colours muddy fast.
VIRAA's own guide to which nail art brush suits which job covers cleaning in more detail.
A sample buying plan
Here is a hypothetical example for a learner planning a home studio. In month one, she buys a 3-piece liner set. In month three, after clients ask for ombre, she adds one ombre brush. In month six, she starts polygel extensions and buys a polygel brush. A larger art set comes only when she offers nail art on most appointments.
That plan spreads the cost and matches each tool to a real need. Yours may move faster or slower, and that is fine.
If you want brushes bundled with gels and tips, compare the VIRAA nail kits and starter sets before buying pieces one by one.
Find your next brush
Start with the job you do most this month, then buy the brush for that job. When you are ready, browse the VIRAA Professional nail art brush collection and pick the stage that matches your work today.
Reference Link Table
Topic or resource | Why it is relevant | Verified URL |
Nail art brush collection | Full list of liners, ombre, gel, polygel and acrylic brushes | |
Which brush for which job | Explains brush roles and cleaning in more depth | https://viraaprofessional.com/blogs/news/nail-art-brushes-which-brush-for-which-job |
Builder gel vs polygel | Helps you pick a system before buying building brushes | https://viraaprofessional.com/blogs/news/builder-gel-vs-polygel-which-one-to-learn-first |
Nail kits and starter sets | Bundles of gels, tips and tools for learners |