Ultra Shine Top Coat: How to Get Glass-Like Gloss That Lasts
19 Oct 2026 · 7 min read
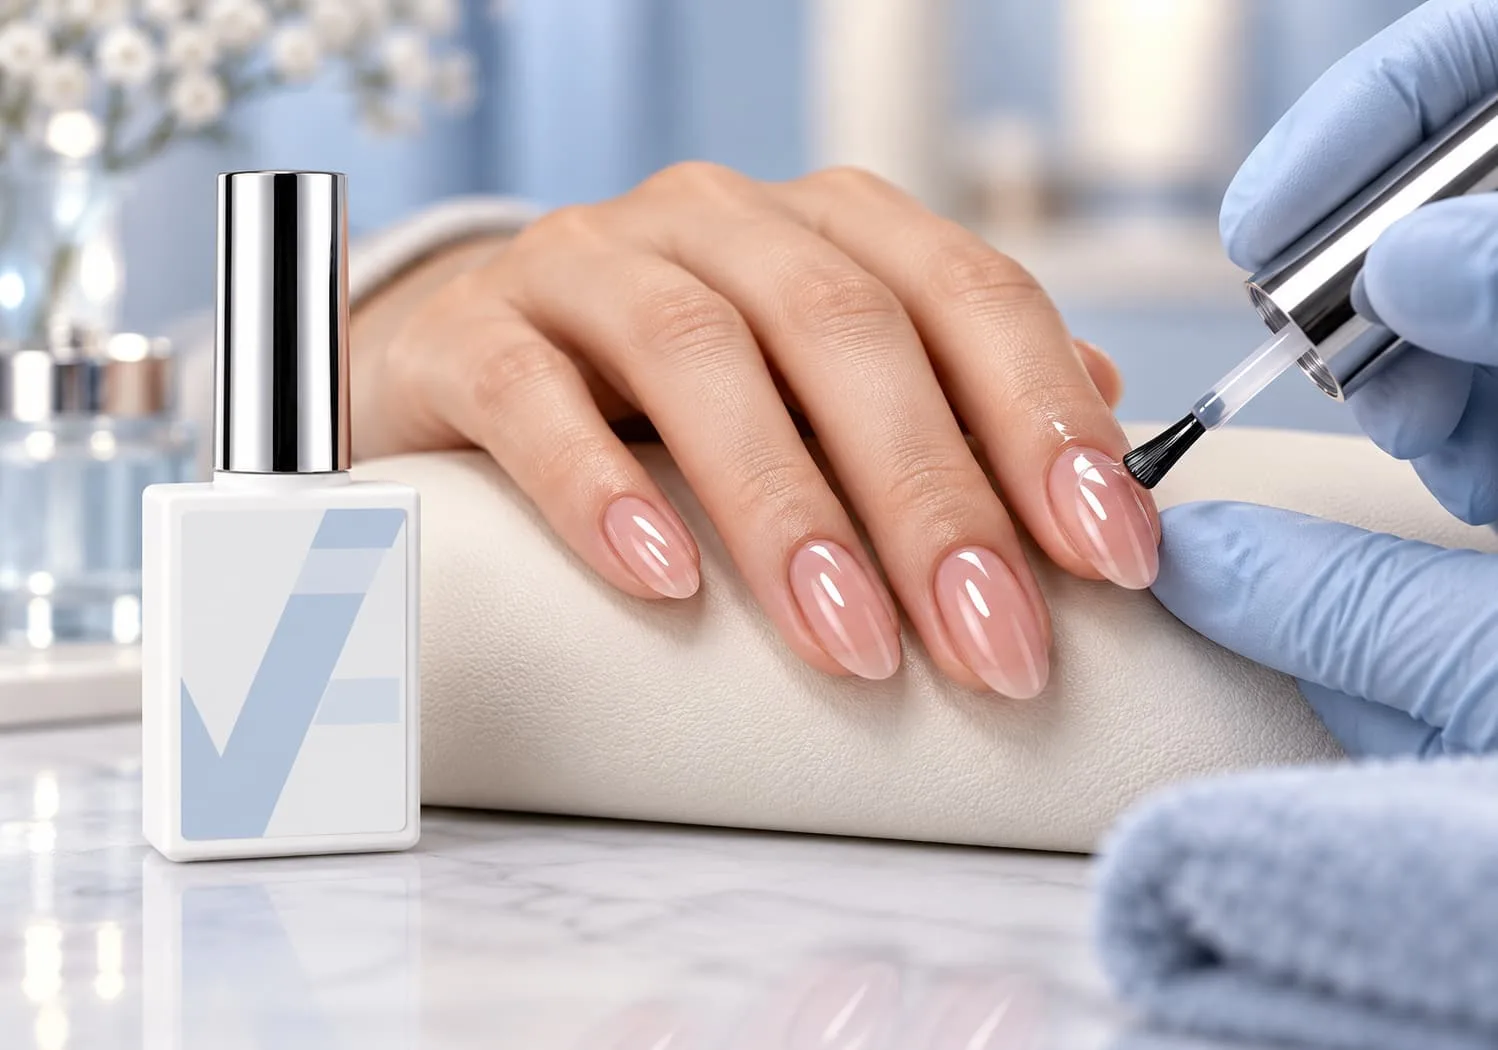
Zoom in on a nail photo that stops people scrolling, and you will almost always see one thing: a deep, mirror-like shine. That finish sells your work online and keeps clients happy for weeks. An ultra shine top coat plays a big role, but it cannot do the job alone. This guide explains what creates real gloss, how to apply a high-shine top coat step by step, why shine sometimes fades early and how clients can keep their nails glossy between visits.
What Creates a High-Gloss Finish?
Shine comes from light reflecting off a smooth, even surface. The smoother the surface, the more the nail reflects light like glass. Three things decide how smooth that surface becomes:
1. The layers underneath. Bumps, ridges and brush marks in the base or colour show through the top coat.
2. The top coat itself. A high-shine formula levels well and cures to a clear, glossy finish.
3. The cure. A fully cured top coat holds its shine. An under-cured one can look cloudy or turn dull quickly.
So, great gloss depends on the full service, not just the final bottle.
This matters for your business as well as the look. Clients judge a manicure by how it looks on day ten, not just on day one. When the shine holds, they rebook. When it fades in a few days, they may blame the whole service, even if the colour and structure held up perfectly.
Step-by-Step: Applying an Ultra Shine Top Coat
1. Start with a smooth structure
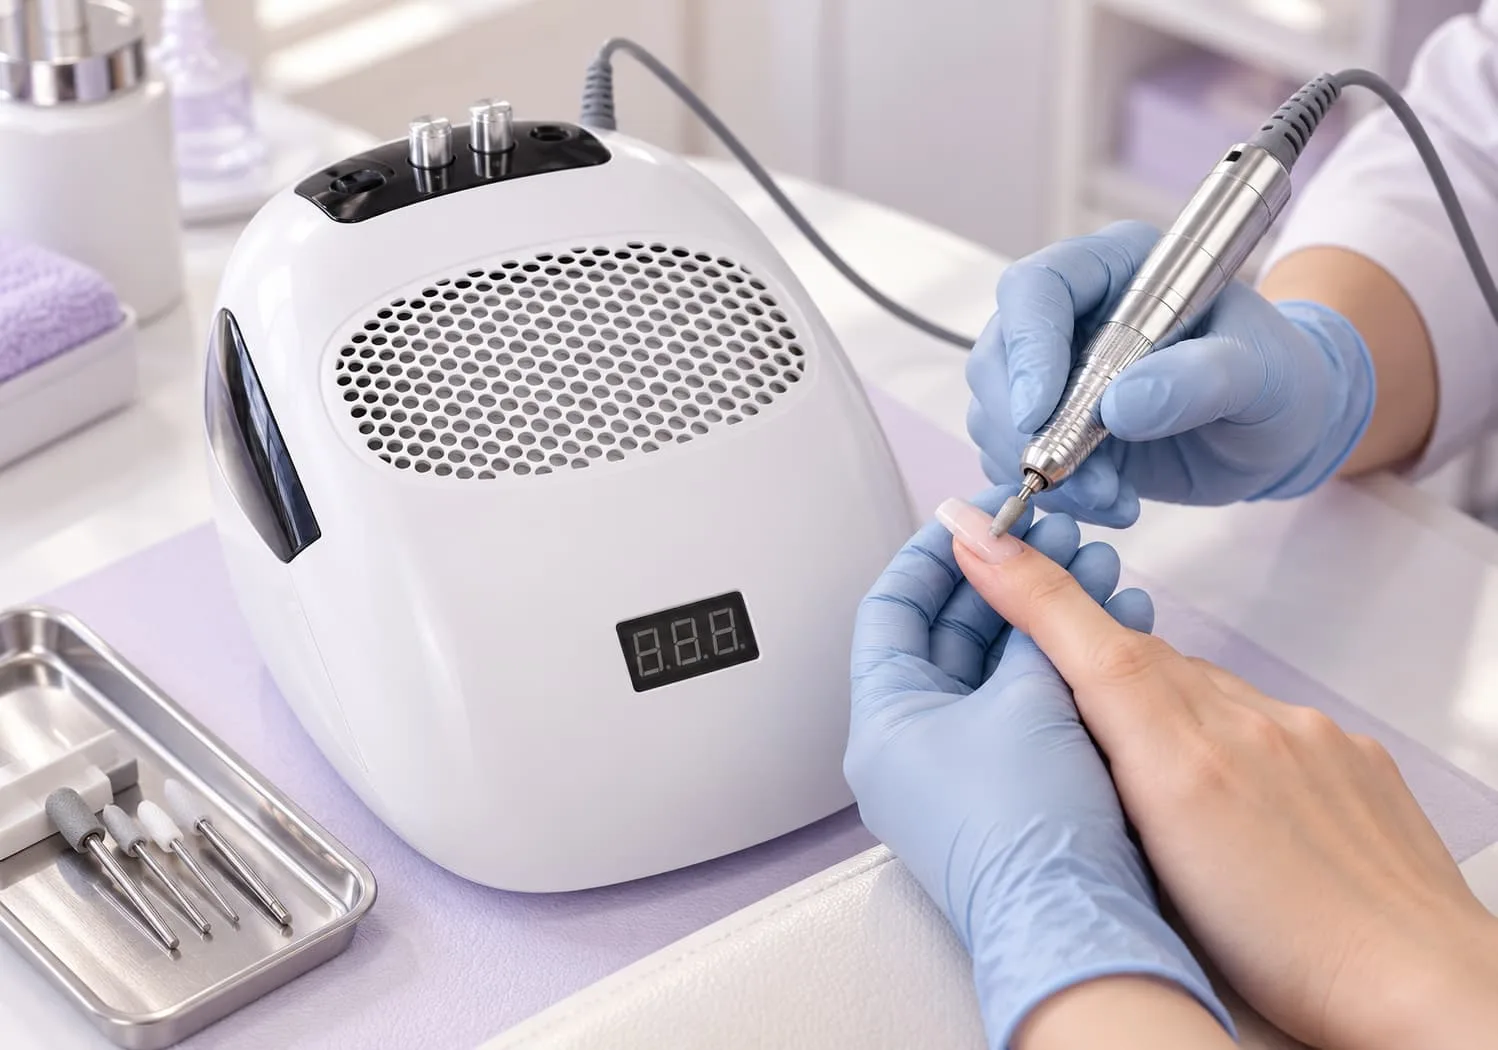
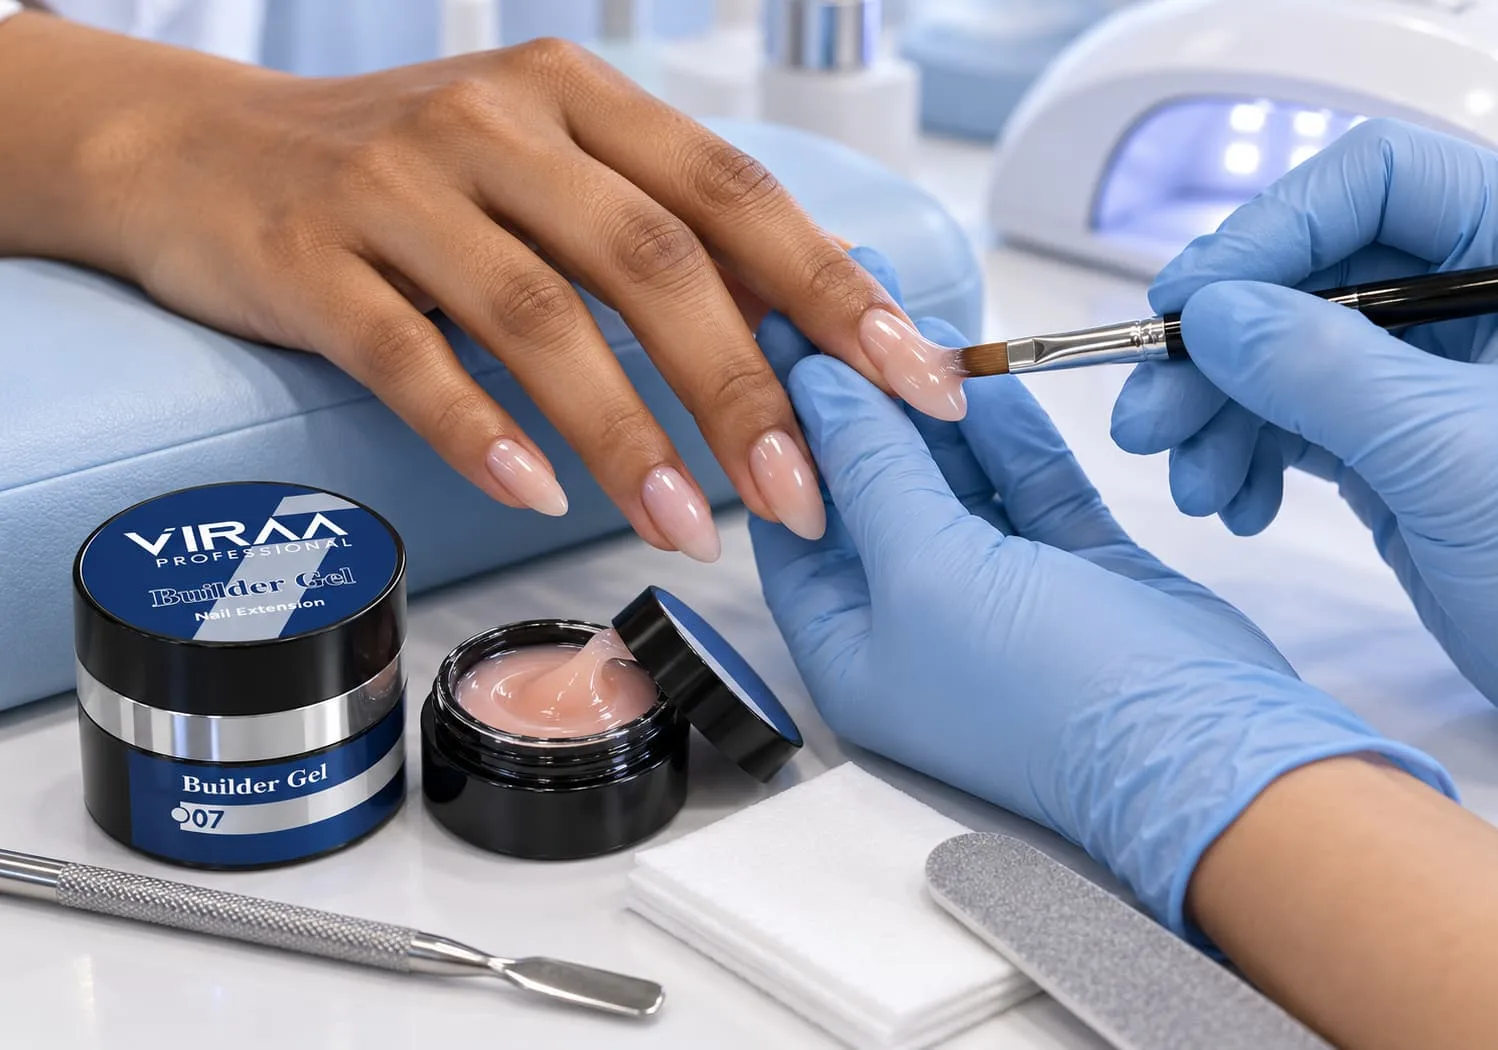
Before colour, check the nail from the side and the front. Refine any bumps with a file and buffer, and remove all dust. If a client has ridged nails, a levelling base or a thin builder layer helps create a flat surface.
2. Apply thin, even colour
Apply colour in thin coats and cure each one fully. Thick colour can wrinkle or dry unevenly, and the top coat will copy every flaw.
3. Load the brush correctly
Pick up enough top coat to flow smoothly, but not so much that it floods the cuticle. Wipe one side of the brush on the bottle neck if needed.
4. Float the top coat
Place a small amount in the centre of the nail and guide it gently toward the edges. Let the brush glide over the surface rather than pressing into it. This “floating” technique helps the top coat level itself.
5. Cap the free edge
Run the brush lightly along the tip of the nail. This seals the edge, helps prevent chipping and keeps the shine even right to the end.
6. Keep it off the skin
Clean any top coat that touches the cuticle or side walls before curing. Product on the skin can cause lifting and may raise the risk of sensitivity.
7. Cure fully
Follow the curing guidance for your top coat and lamp. If your top coat leaves a sticky layer, remove it as the directions describe.
Why Top Coat Shine Fades Early
When clients complain that their nails lost shine after a few days, look for these causes.
Under-curing. The most common cause. Check your curing time and make sure your lamp suits the product.
Thin top coat. A very thin layer wears through faster, especially on active hands.
Wiping a no-wipe top coat. Wiping a no-wipe formula with cleanser can dull the surface. Only wipe if the directions tell you to.
Mixing systems. A top coat from one brand over colour from another may not bond or cure evenly. Test combinations before client use.
Harsh products at home. Strong cleaning products and chemicals can affect the surface over time. Gloves help protect the finish.
Lamp problems. A lamp that does not cure evenly can leave dull spots, often on the thumb or little finger.
The Role of Your Lamp in Top Coat Shine
Your lamp has a bigger effect on shine than many technicians expect. A top coat needs to cure evenly across every nail, including the thumb, which often sits at an awkward angle.
Watch for these signs of a lamp problem:
• Shine looks good on the middle fingers but dull on the thumb or little finger
• The surface feels slightly soft or tacky after the full curing time
• Shine fades on the same fingers across many clients
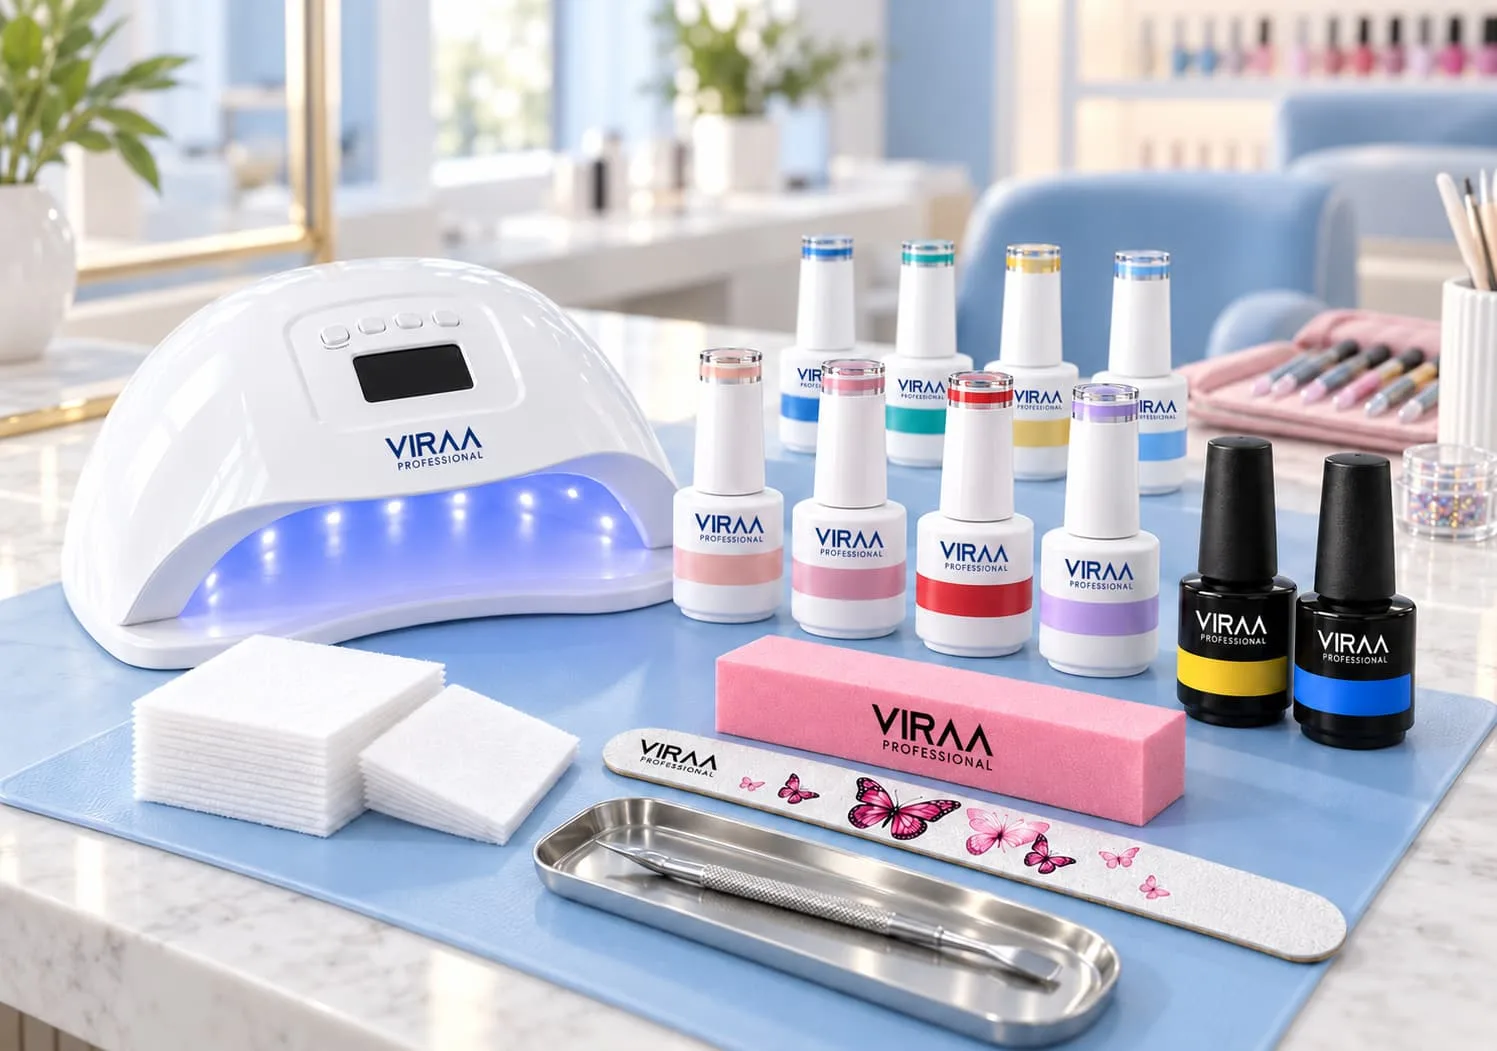
If you notice a pattern, cure the thumbs separately with the hand flat, check the curing guidance again and review whether your lamp suits your top coat. When you replace a lamp, compare options in the UV lamp collection and test the new lamp on practice tips before client work.
A Quick Shine Check Before the Client Leaves
Take ten seconds at the end of every service to check the finish. Tilt each nail under a light and look along its length. You want one clean, unbroken reflection from cuticle to tip.
If you see a wavy reflection, the surface underneath has bumps. If you see a dull patch, the top coat may be thin or under-cured in that spot. Fix small issues now, while the client sits in your chair. It takes far less time than a repair appointment later, and it shows the client that you care about the details.
Ultra Shine vs Other Top Coat Finishes
Finish | Look | Best for |
Ultra shine or super shine | Deep, glass-like gloss | Classic manicures, reds, nudes, chrome and photo-ready sets |
Standard gloss | Clear, everyday shine | Quick services and general use |
Matte | Soft, velvet finish | Trend looks and texture contrast |
Many salons keep both a high-shine and a matte top coat on the shelf. Some artists even combine them in one design, such as matte nails with glossy tips.
Viraa Professional’s Super Shine Top Coat targets the high-gloss end of this range. You can compare other options in the full top coat collection.
Getting the Most Shine From Different Colours
Some shades show off gloss better than others. Dark reds, deep blues and black reflect light strongly, so any bump or dull spot becomes obvious. Take extra care with the underlying layers on these shades.
Nudes and sheers look softer, but a high-shine finish still makes them look fresh and polished. For chrome and mirror effects, follow the product directions for sealing, since some powders need a specific top coat to lock them in without dulling the effect.
Pair your top coat with a reliable colour range from the gel polish collection so the whole system works together.
Aftercare Tips for Lasting Gloss
Share these simple tips with clients at the end of each appointment:
• Wear gloves when cleaning or washing dishes.
• Apply cuticle oil daily, keeping it around the cuticle area.
• Avoid using nails as tools.
• Dry hands gently after washing.
• Book a refill or new set on time rather than waiting until the shine fades completely.
These habits protect both the shine and the structure underneath.
Photographing High-Shine Nails
Glossy nails photograph beautifully when you control the light. Use soft, even light from a window or a ring light, and angle the hand slightly so the shine catches the light without harsh glare. Clean the nails of dust and fingerprints before taking the photo. Good photos showcase your work and help attract new clients online.
Common Mistakes With High-Shine Top Coats
Rushing the prep and structure. Shine only shows what is underneath. Poor structure means poor shine.
Applying too much at once. A thick top coat can pool, wrinkle or cure unevenly.
Pressing too hard with the brush. This drags the top coat and leaves streaks. Let it float.
Skipping the edge. Uncapped edges chip and dull first.
Changing lamps without testing. A new lamp may cure your top coat differently. Test it on tips first.
Final Thoughts
An ultra shine top coat gives your work a finish clients notice and photographs that stand out. To get the most from it, build a smooth structure, apply thin colour, float the top coat, cap the edge and cure fully. Then give clients clear aftercare so the shine lasts until their next visit.
Explore the Viraa Professional Super Shine Top Coat to add a glossy, photo-ready finish to your gel services.
Reference Links
Reference | Relevance | Link |
Super Shine Top Coat | Viraa Professional high-gloss top coat | |
Top Coat Collection | Full range of Viraa top coats and bases | |
Gel Polish Collection | Gel colours to pair with a high-shine finish | |
UV Lamp Collection | Lamps for curing top coats fully |