Nail Extensions Before and After: What Each Product Actually Changes
17 Sep 2026 · VIRAA Professional · 9 min read
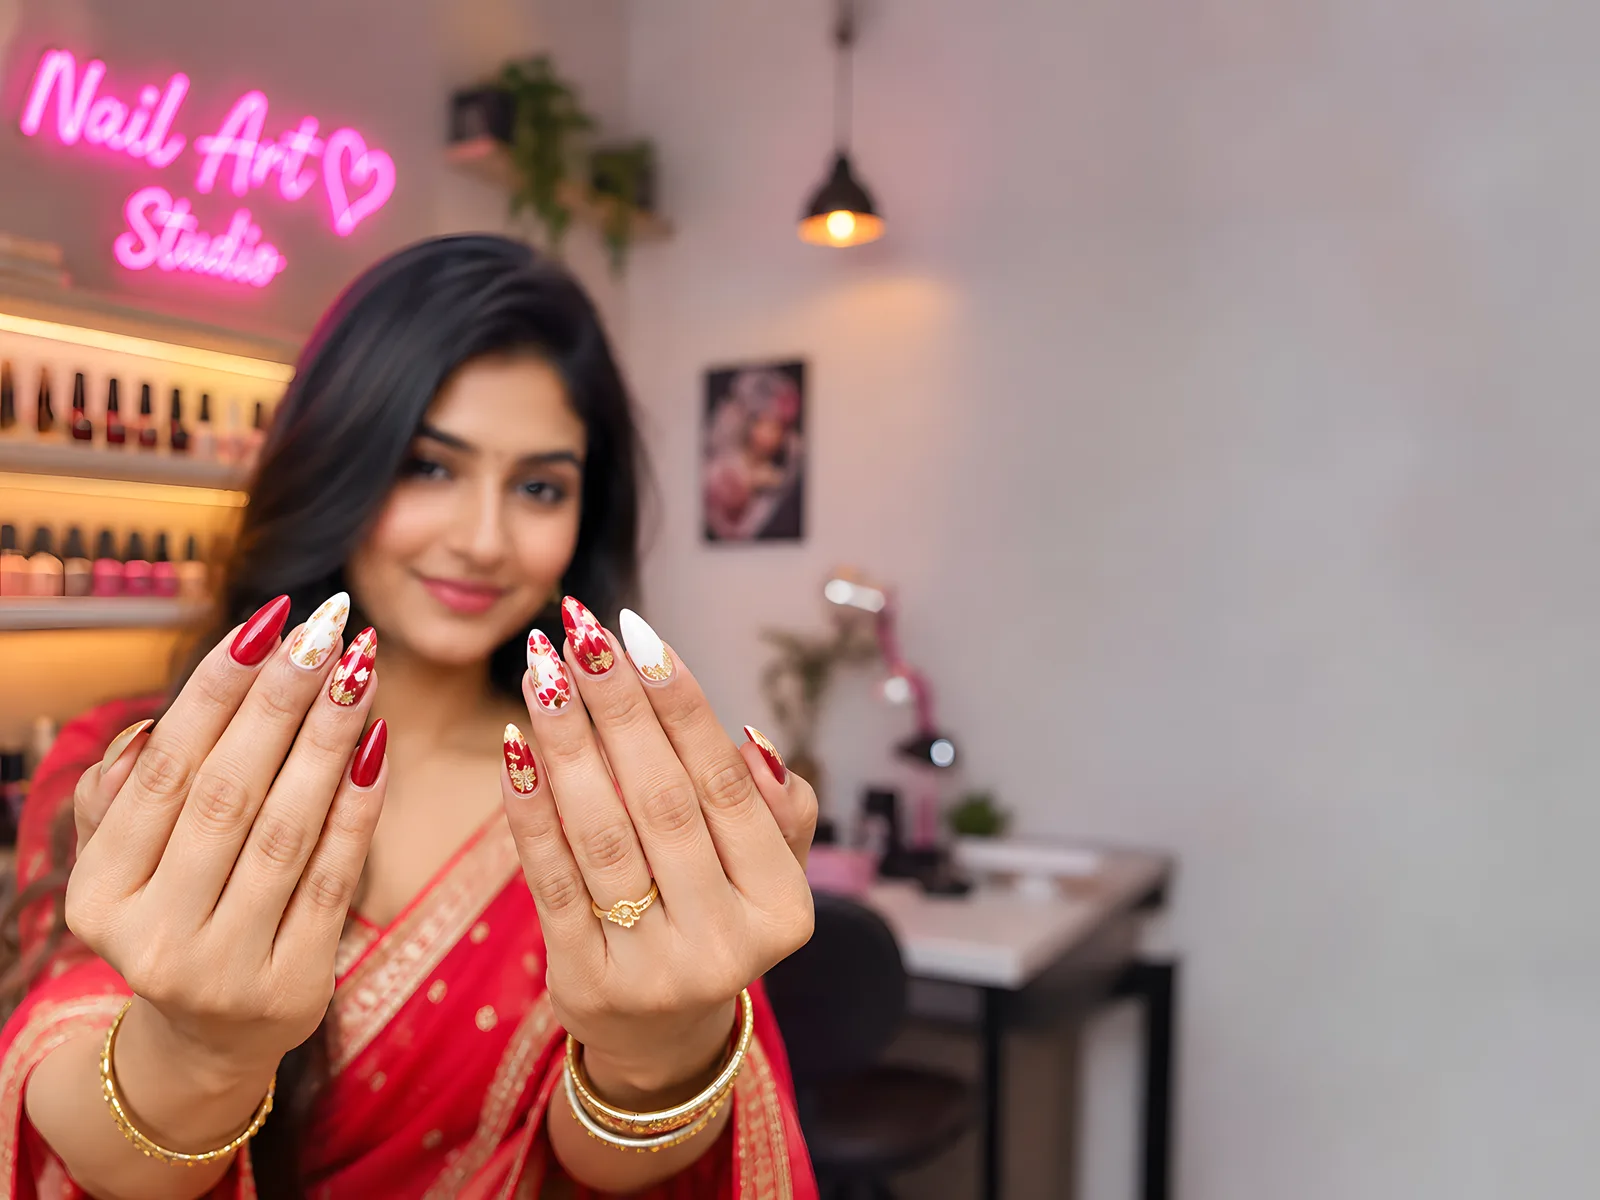
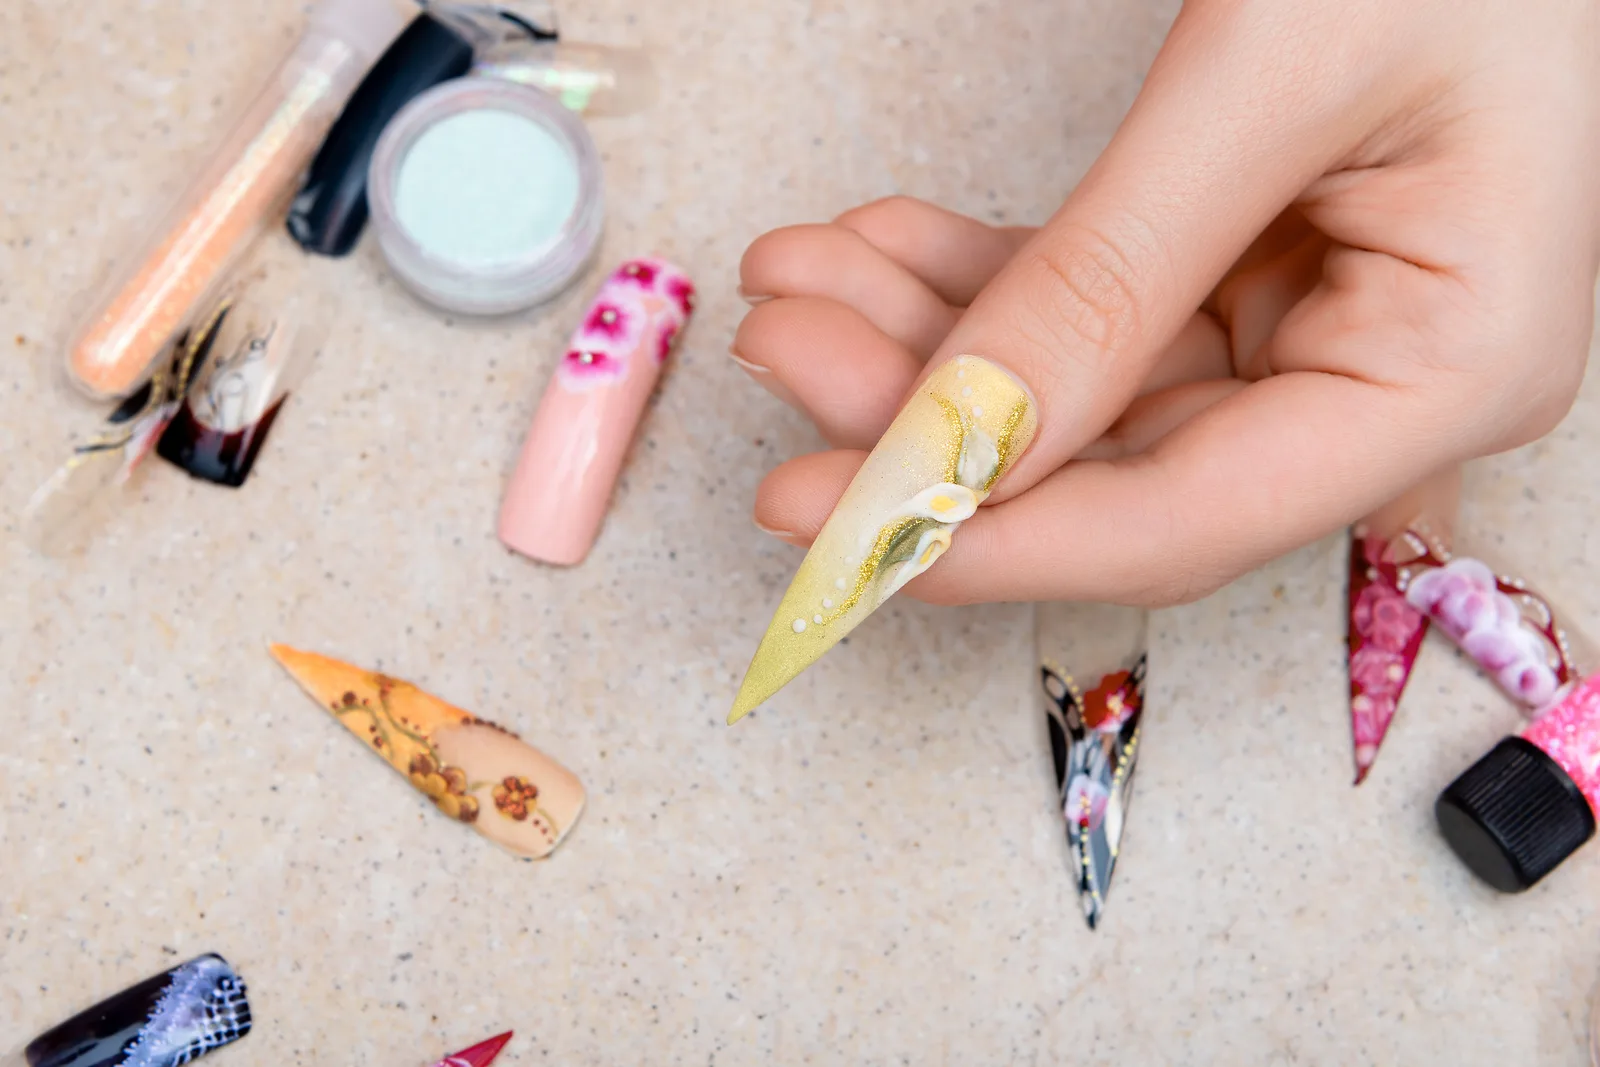
A before-and-after photo is a promise. Bare nail on the left, finished set on the right, and the implication that the product in the middle did it. It did some of it. Most of what changes in that photo comes from decisions, and the products are only as good as the order they went on in.
This is what actually changes between the two halves of that picture, layer by layer, and which product is responsible for each difference - so that when a result is not what you wanted, you know which layer to look at.
Before: what you are working with
Every set starts on a nail that has a shape, an oil level and a history. Short and bitten, long and thin, ridged, flat, curved. The prep products do not care about any of this; they do the same job on every nail. But the building product very much does, because the shape of the finished extension is built onto whatever is there.
Three things worth noting before anything goes on:
- How much natural nail there is. A tip can only be bonded to what exists. Very short nails need a smaller tip and more product to bridge.
- The curve. A flat nail bed needs a flatter tip; forcing a curved tip onto it leaves an air pocket at the sidewalls, which is where lifting starts.
- The condition. Peeling, soft or damaged plates want an overlay with structure gel or BIAB for a few weeks before length is added on top.
The changes, in order
- Surface: shine gone, dust gone. The first visible change is dullness. A buffer takes the natural shine off the plate so the base has something to hold. Then a wipe with lint-free wipes. This step produces nothing a client would photograph, and it is the one that decides the whole set.
- Bond: nothing to see, everything to feel. PH Bond and primer change the surface chemistry, not the look. The nail may go slightly chalky. A thin layer of base coat, cured, and the plate is sealed.
- Length: the big one. A tip is bonded, or a form fitted, and the free edge doubles in length. This is the change everyone notices and the only one the client asked for.
- Structure: thin at the ends, strong in the middle. Polygel or builder gel is laid over the tip and shaped so the apex sits over the stress point. Before filing, a fresh build looks bulky. It is supposed to.
- Shape: the bulk comes off. Filing takes away everything that was not the plan. Sidewalls straight, cuticle edge thin enough to be almost invisible, free edge cleaned to the intended shape. This step turns a lump into a nail.
- Finish: colour and seal. Gel colour if wanted, then top coat. This is where the surface goes from matte-filed to glossy, and where the finish is chosen - glass-clear, shimmer, mirror or velvet matte.
Reading the "before": what to tell the client
The consultation is where the after is decided. Five minutes looking at the hands before anything is opened saves the conversation at week two, and the questions are always the same.
| What you see | What it means for the set | What to say |
|---|---|---|
| Bitten, very short nails | Little to bond to; a tip may not seat. Overlay first, extend next visit. | "We will build strength this time and length in three weeks." |
| Flat, wide nail beds | Standard tips lift at the sidewalls. Size down or sculpt on a form. | "Your nails are flatter than most tips, so I will shape these by hand." |
| Peeling or soft plates | Anything heavy pulls the plate apart. Thin overlay with structure gel. | "Two or three light sets, then we can go longer." |
| Deep ridges | Ridges show through thin product. Level with base or a thin builder layer. | "I will level these first so the colour sits flat." |
| Hands in water all day | Everything lifts sooner. Full prep plus Ultra Bond; expect two weeks, not three. | "Gloves for washing up, and we book at two weeks." |
None of this is a reason not to do the set. It is the reason the same product gives a different result on different hands, and the client who was told why in advance comes back; the one who was not blames the salon.
What a good "after" looks like
The finished photo, if it is honest, shows six things. Check them on your own work.
| Look for | Good | Not yet | Fix lives in |
|---|---|---|---|
| Cuticle edge | Product meets skin without a step | A visible ridge, or product on skin | Base coat application; filing |
| Apex | Highest point a third from the cuticle | Highest point in the middle or at the tip | Building product placement |
| Sidewalls | Straight, following the natural nail | Flared, or pinched inward | Tip fit; filing |
| Free edge | Thin, even, one shape on all ten | Thick, or shapes that do not match | Filing; tip choice |
| Surface | Smooth, no file marks under the top coat | Scratches visible through gloss | Buffer before top coat |
| Finish | Even gloss or even matte, no bare patches | Dull spots, or a tacky edge | Top coat coverage; cure time |
After the after: three weeks later
The photo nobody posts is the one at week three, and it is the more useful one. A well-built set at that point has grown out at the cuticle by a few millimetres, is still fully attached, and is ready for an infill. What it should not have:
- Lifting at the cuticle. Prep. The plate was not clean, or base coat touched skin. Go back to step one and two above. Why gel polish lifts covers every cause, and they are the same for extensions.
- A crack across the stress point. The apex was too thin or in the wrong place. Structure, step four.
- The top coat dulling. Under-cured, or a top coat not meant for the product beneath it. Finish, step six. On chrome or glitter, the wrong sealing layer does this in days.
- Yellowing. UV exposure on a top coat without protection, or a client using a hand sanitiser that reacts with it. Switch top coat; ask about the sanitiser.
The honest before-and-after. Photograph your sets at week three, not just on the day. It is the picture that tells you which layer is working and which is not, and it is the one a returning client is actually judging you on.
Between visits: what the client can do
A set that leaves the salon perfect is half of a three-week result. The other half happens at home, and most clients have never been told what to do. Tell them, in five lines, and write it on the card.
- Oil the cuticles daily. Dry skin at the cuticle shrinks away from the product and opens the seal. A drop of cuticle oil, rubbed in, morning and night. This is the single biggest difference between a two-week client and a four-week one.
- Gloves for water and chemicals. Hot water softens gel; detergents attack the top coat. Washing up, cleaning, hair colour - gloves. It is not fussy, it is what keeps the finish.
- Nails are not tools. Opening cans, scraping labels, prising lids. A crack across the stress point is almost always one of these, not a weak build.
- Do not pick or peel. A lifted edge picked at takes the natural plate with it. Book in; a lifted nail is a five-minute repair, a peeled one is a damaged nail for months.
- Book the infill before leaving. Three weeks. The client who books at the desk keeps the appointment; the one who says they will call books at five weeks with two nails missing.
Infill or new set: the arithmetic
At three weeks there is a gap at the cuticle and the apex has drifted forward with the nail's growth. An infill files the old product down, rebuilds the apex where it belongs, fills the gap and refinishes. It uses a fraction of the product a new set does and takes about two thirds of the time - which is why infills are priced lower, and why a salon full of infill clients is a salon that is both busy and profitable.
A new set is due when the shape has drifted too far to correct by filing, when the client wants a different length or shape, or when there is lifting on several nails that would take longer to repair than to redo. Every two or three infills is the usual rhythm. The product for all of it is the same - polygel for the rebuild, prep for the exposed regrowth, top coat to finish.
Photographing your before and after
Since the photo is what sells the next booking, it is worth taking properly. Same hand position, same background, same light for both halves - a before shot under the salon's warm overhead light next to an after shot by the window is a photo of two lighting conditions, not two nails. Daylight from a window, hand flat on a plain surface, phone directly above. Wipe the cuticle oil off first or the gloss reads as grease. And take the week-three photo too, for yourself if not for the feed; it is the one that tells you whether the set was built right.
Which product changed what
If the length is right but it lifted, the prep products are the problem. If it stayed on but cracked, the building product or its placement. If it stayed on, held its shape and went dull, the top coat. The set is a stack, and each layer has one job. The whole list of extension products is in the companion article, in the order they go on, with prices - and the extension products themselves are one click from here.