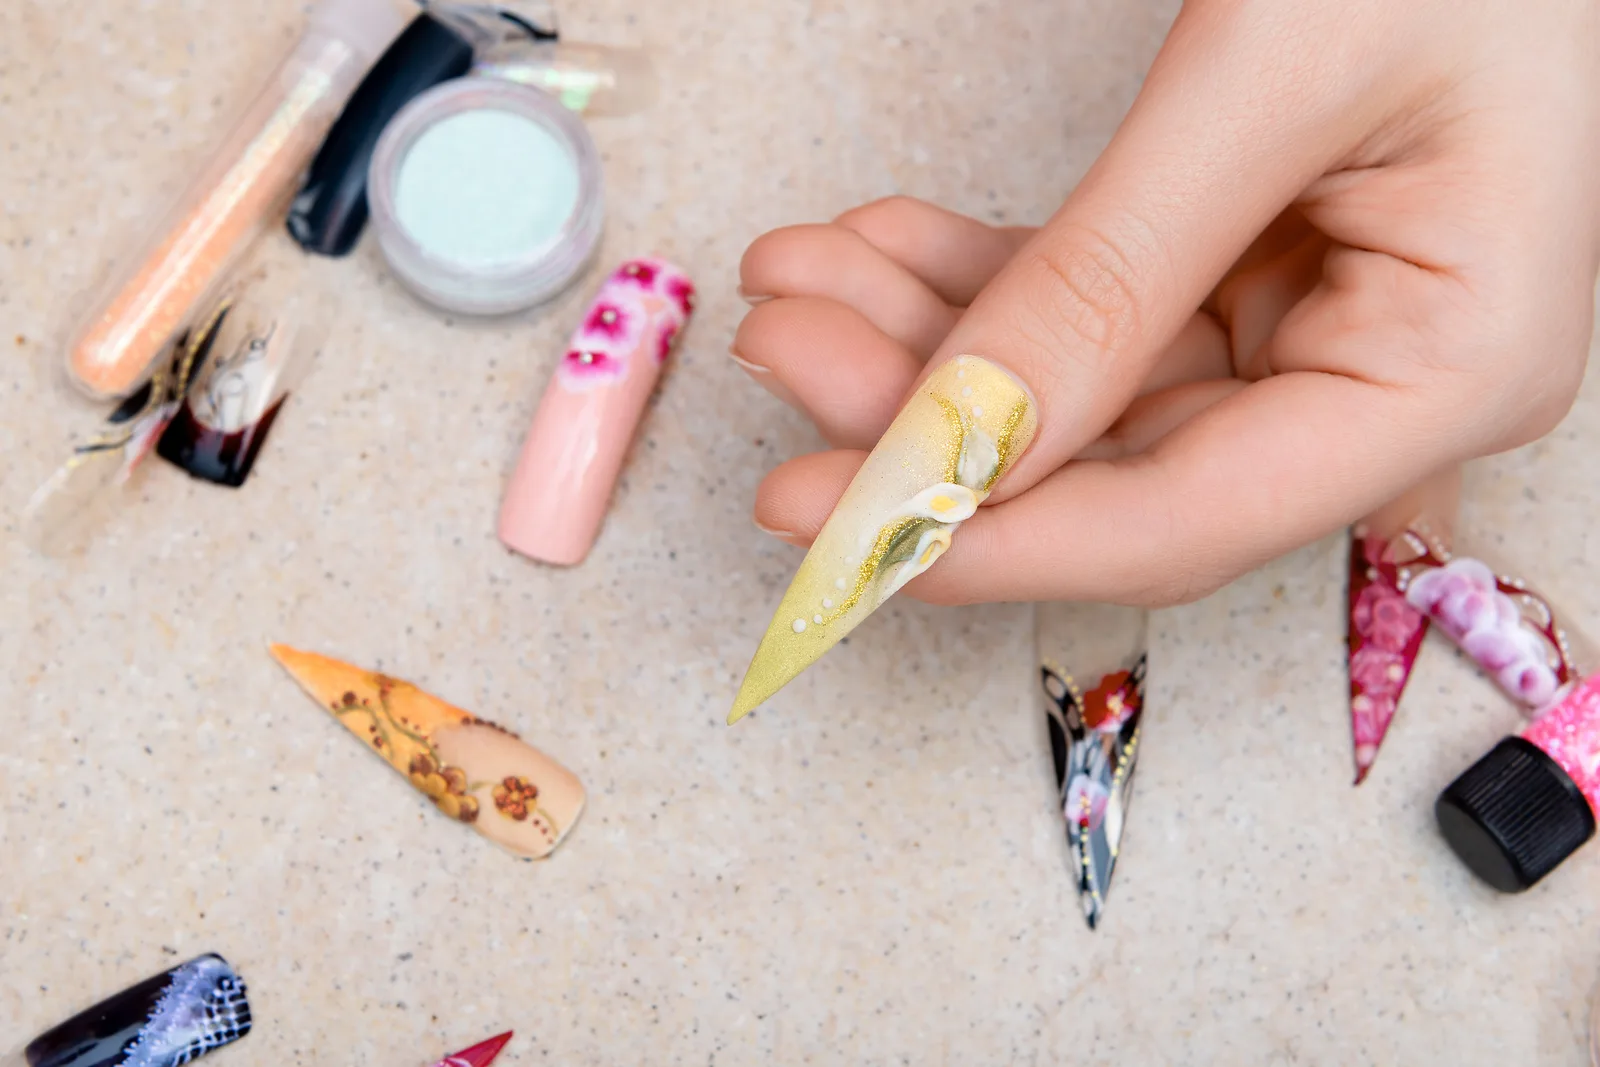
Nail Prep Products: Primer, Bonder and Base Coat, and Why the Order Matters
17 Sep 2026 · VIRAA Professional · 9 min read
The prep shelf is where a new technician gets confused and an experienced one gets lazy. Four bottles, all clear, all 15ml, all promising adhesion. They are not four versions of the same thing. They are four steps, each doing something the next one depends on, and the set that lifts at day five is almost always a set where one of them was skipped or put on in the wrong order.
Here is what each product does, in the order it goes on, and which one to reach for when a client comes back with a lifted nail.
The order, and why it is fixed
- Mechanical prep. Push back the cuticle, remove any dead tissue on the plate, buff the shine off, file the free edge. Not a product - a buffer at Rs 42 and a file at Rs 60. This is where most lifting is caused, and no bottle fixes it.
- Dehydrate. PH Bond (Rs 549) strips oil and moisture from the plate and balances its pH. The nail goes slightly chalky. Nothing bonds well to an oily surface, and every nail is oily until this step.
- Prime. Nail Primer (Rs 549), a thin coat, air dried. It changes the surface so the base coat has something to grip. Acid-free, so it does not etch.
- Bond, if needed. Ultra Bond (Rs 549) is the extra layer for nails that still lift after correct prep. Most clients skip it. The ones who need it, need it every time.
- Base coat. Base coat (Rs 549), thin, cured. The layer everything above it bonds to.
Why the order cannot change. Each step prepares the surface for the next. A primer over an oily plate bonds to the oil, not the nail. A base coat over bare nail has nothing to grip. Ultra Bond before the primer is a bonding layer with nothing beneath it to bond. The sequence is the product.
Mechanical prep, properly
The bottles get the attention, but the step before them is where most sets are won or lost. It takes five minutes and nothing on this list is optional.
- Sanitise. Your hands and the client's. Then look at all ten nails for anything - lifting, infection, damage - that changes the plan.
- Push back the cuticle. With a pusher, gently, after softening if needed. The living cuticle is not removed; what comes away is the dead tissue that has grown onto the plate, and that is the tissue product lifts from.
- Remove the non-living tissue from the plate. The translucent layer left after pushing back is the one most people miss. Scrape it lightly with the flat of the pusher, or a light pass with a 240 buffer along the cuticle line.
- Shape the free edge. A straight file at 180 grit, in one direction, before anything goes on. Shaping after the base has cured means filing through it.
- Take the shine off. A block buffer, light pressure, until the whole plate is matte. Matte, not thinned. If you can see a change in thickness you have gone too far.
- Remove the dust. A cleaning brush to lift it, then a lint-free wipe. Dust left under the base is a bump under the base.
- Hands off. From this point the plate is not touched by anything except the products. A fingertip on a prepped nail puts the oil back.
Prep by nail type
The order is fixed; how much of each you use is not. The same sequence adapts to the nail in front of you.
| Nail | Adjust | Why |
|---|---|---|
| Oily plate (lifts within days on everything) | Dehydrate twice; add primer; add Ultra Bond | Oil returns to the surface fast; every bonding step counts |
| Dry, brittle, peeling | Dehydrate once, lightly; skip Ultra Bond; buff minimally | Already dry - over-dehydrating makes it more brittle, and there is less plate to spare |
| Thin or damaged after removal | No buffing beyond removing shine; primer yes; thin base only | The plate needs protecting, not roughening; build strength with structure gel before length |
| Bitten, with overgrown cuticle | Extra time on cuticle work; small tip or overlay only | The lifting risk is the skin overgrowth, not the product |
| Ridged | Buff across the ridges, not along; a slightly fuller base to level | Product over an unlevelled ridge cracks along it |
| Healthy, non-lifting, gel polish only | Dehydrate and base; primer optional | Prep is still prep, but the full system is for three-week wear |
How thin is thin
Every prep bottle says "apply a thin coat" and none of them says what that means. It means this: the product should be on the nail as a film you can barely see, not a layer you can see the edge of. For the dehydrator and primer, one stroke down the centre and one down each side, with the brush wiped nearly dry on the neck of the bottle first. Primer flooded to the cuticle is primer on skin, and primer on skin is a lift. For base coat, thin enough that the nail's colour shows through evenly, capped at the free edge, and cured. If there is a bead at the cuticle, it was not thin.
The mistakes, ranked by how often they cause lifting
- Product on the skin. Base, primer or polygel touching the cuticle or sidewall. The single most common cause, on every product.
- Shine not fully removed. A shiny patch near the cuticle - usually because the buffer could not get in - is a patch the base does not bond to.
- Touching the nail after prep. Yours or theirs. One fingertip.
- Skipping the dehydrator because the nail "looked clean". Every nail has oil on it.
- Cuticle not pushed back, so the base was applied over tissue that then grew out and took the base with it.
- Over-buffing, which does not cause lifting on the day but thins the plate until nothing holds on it.
The four products, and what each fixes
| Product | Price | What it does | Use it when | Skip it when |
|---|---|---|---|---|
| PH Bond (dehydrator) | Rs 549 | Removes oil and moisture; balances pH | Always | Never - it is the foundation |
| Nail Primer | Rs 549 | Changes the plate surface for adhesion | Extensions; anything staying three weeks | A quick gel manicure on a healthy, non-lifting nail |
| Ultra Bond (bonder) | Rs 549 | Extra adhesion for problem nails | Clients who lift after correct prep; thin or oily plates | Most clients, most of the time |
| Base Coat | Rs 549 | The cured layer product bonds to; protects from staining | Always, under anything | Never |
Diagnosing a lifted nail
A client comes back with product lifting at the cuticle. Before you blame the polygel, the gel polish or the top coat, work through prep from the bottom.
- Lifting on every nail, on every client: mechanical prep. Shine not fully removed, or product flooding the cuticle. Look at your technique, not your shelf.
- Lifting on every nail, on one client: that client's plate. Oily, or thin, or exposed to water for work. Add primer if you were not using it; add Ultra Bond if you were.
- Lifting on one or two nails only: those nails were touched after prep - a finger brushed the plate, or a cuticle was missed. Redo prep on those nails and it stops.
- Lifting at the free edge rather than the cuticle: the base coat was not capped at the edge, or the client is using the nail as a tool. Cap the edge on every layer.
The why gel polish lifts article works through all of this in more depth. The short version: it is prep until proven otherwise.
Prep at the infill
At three weeks the client comes back with a few millimetres of new nail at the cuticle and the old product still on. The prep is the same sequence, applied only to what is new.
- File the old product down thin, and buff the step where it meets the regrowth until there is no edge you can feel.
- Prep the regrowth exactly as a new nail: push back, remove the shine, dust off. The old product does not need dehydrating; the new nail does.
- Dehydrator and primer on the regrowth only. Primer on the old product does nothing useful, and flooded onto the old product's edge it can wick under it.
- Base on the regrowth, feathered onto the old product, cured. Then rebuild.
An infill that lifts at the cuticle within the week is an infill where the regrowth was treated as part of the old nail rather than as a new one. Three millimetres of unprepped plate is enough to lift a whole nail.
What prep does not fix
Prep is the cause of most lifting, not all of it. If the prep is right and a set still fails, look at the cure - a lamp that has lost output, a hand that was tilted, a builder applied too thick to cure through - and at the client's hands, which spend the three weeks in water, sanitiser and whatever they do for a living. Prep gives the product the best possible start. It cannot make up for a product that was not cured or a client who uses their nails as a screwdriver.
What "acid-free" means and why it matters
Older primers for acrylic were methacrylic acid. They worked by etching the nail plate - roughening it so the acrylic could key in - and over repeated services that thinned the nail. They also carried a real handling risk; OSHA's nail salon guidance lists methacrylic acid among the products to handle with care.
Acid-free primers bond chemically without etching. They are what to use with gel, polygel and builder gel, and they are the only kind in this range. The trade-off is that they need a properly dehydrated nail to work on - which is why the dehydrator comes first, and why "just use primer" is not a fix for skipped prep.
What the shelf costs
Each bottle is 15ml and used thinly, so they last. A working desk goes through the base coat fastest and the bonder slowest. Start with two bottles, add the third when you start doing extensions, and buy the fourth the first time a client lifts on you after you did everything right.
The full prep system is one collection. Everything in it is TPO and HEMA free - what that means is its own article - and what goes on after prep is in the extension products list.