Nail Tips Guide: Shapes, Sizes and How to Apply Them
8 Oct 2026 · VIRAA Professional · 8 min read
A nail tip does one job: it gives the shape and the length. The strength comes from the layer of gel, polygel or acrylic you put over it. That is why the tip itself is the cheap part of a set and the way it is fitted is the part that decides whether it lasts. A well-fitted tip under a good overlay stays for weeks. A badly fitted one pops off in days, and the cause is nearly always something that happened in the first five minutes.
This guide covers choosing the tip, finding the size, applying it step by step, cutting it, and the reasons tips lift. If you are deciding whether to use tips at all, read soft gel tips vs sculpted nail extensions first.
The kinds of tip
- Clear tips. A transparent base for gel, acrylic or nail art. You cut them to length and shape them. The clear tips come 500 to a box.
- Soft gel tips. Pre-shaped, full-coverage tips that skip most of the shaping. The medium almond and medium coffin tips come 550 to a box.
- Traceless tips. Matte, ultra-thin and non-cutting, so there is very little step at the cuticle to blend. The traceless false nail tips come 100 to a pack, in medium coffin and long almond.
- Short French tip boxes. The 600-piece short French tip box holds clear tips in 12 numbered sizes in a storage case, which keeps a busy desk organised.
- Toe tips. Toe tips are shaped for toenails and come 550 to a box.
The whole range, with the cutters and glue, is on one page at nail tips and tip cutters.
Choosing a shape
Almond tapers to a soft point and suits most hands. It is a flattering default and wears well because the narrow tip catches less.
Coffin is tapered with a flat, squared end. It is a strong, modern shape that gives a broad canvas for art, and it asks for a little more care at the corners, where a square edge takes the knocks.
Short and rounded is the practical choice. It is the least likely to break and the easiest to live with, so it suits clients who work with their hands.
Length matters as much as shape. The longer the free edge, the more leverage it has against the nail, and the more it relies on the structure under the gel. A medium length is forgiving; very long sets need an apex built in the right place. Our guide to builder gel vs polygel covers building that structure.
Finding the right size
Size is the part of fitting that people rush, and the part that shows up later as a lifted sidewall.
- Start with the thumb. It is the widest nail and a good reference for the rest.
- Hold the tip against the nail at the cuticle end and look at the sidewalls. The tip should reach from one sidewall to the other.
- If it sits inside the sidewalls, it is too small. The bare edges of the natural nail will show and are where it lifts.
- If it falls between two sizes, take the larger and file the sides down to fit, which gives you a clean, matched edge.
- Lay out the whole hand in order before you glue anything. It is quicker than fixing a wrong tip halfway through.
A numbered box makes this easier, because each size is labelled and kept apart. It is one reason the 12-size box is popular with busy technicians.
How to apply a tip, step by step
- Prepare the natural nail. Push back the cuticle, file the free edge flat, buff the shine off the plate, remove the dust and dehydrate. Prime if the client tends to lift. The prep system has each step.
- Check the fit, as above.
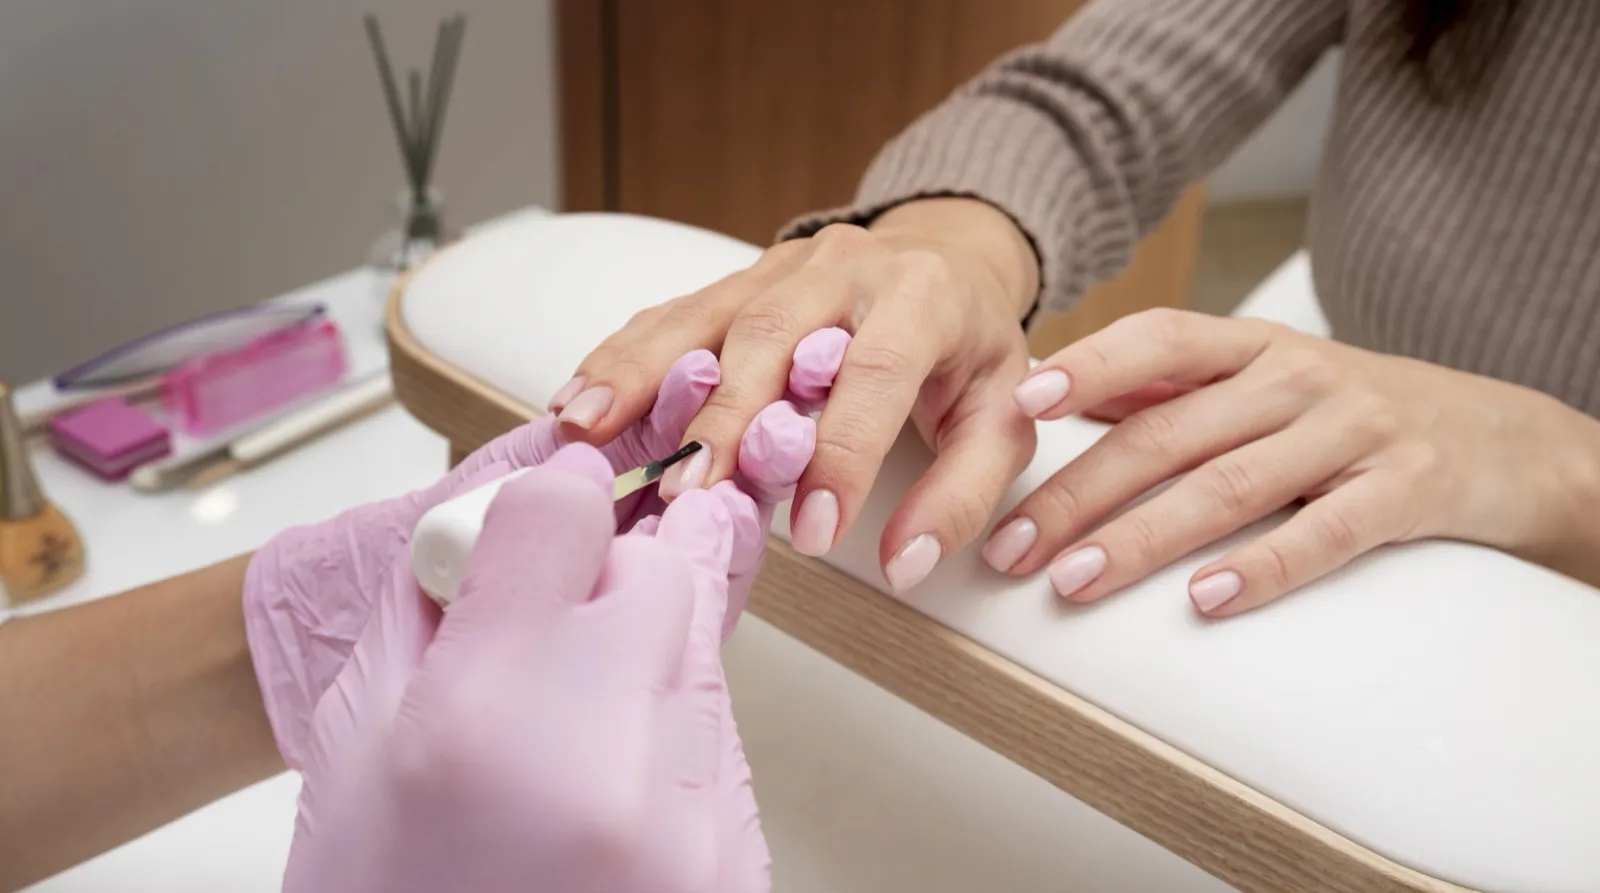
- Put a small amount of glue on the contact area of the tip. Not across the whole tip, and not at the very cuticle edge where it can run onto the skin. Nail glue has a precision nozzle for this.
- Place the tip at an angle. Set the cuticle end of the tip against the nail at roughly 45 degrees, just clear of the skin, then lower it onto the nail.
- Press from the middle outwards and hold for around ten to fifteen seconds, so any air is pushed out. An air bubble under a tip is a weak spot that will lift.
- Check the edges. The tip should lie flat with no gap at the sidewalls and no glue on the skin. Wipe off any that has escaped.
- Cut to length with a tip cutter (see below), then file the shape.
- Blend the well. With a soft gel tip there is little to blend. With a clear tip, file the contact line smooth so it does not show through the gel.
- Apply base coat and your overlay, a builder gel, polygel or acrylic layer, which is what gives the set its strength. Cure as the product says.
- Colour and top coat. Finish as you would any gel set.
If you would rather fix tips with gel than glue, the multifunctional adhesive gel in Nail Essentials bonds tips, forms and embellishments and cures under a lamp, which gives you time to position each tip before it sets.
Cutting a tip
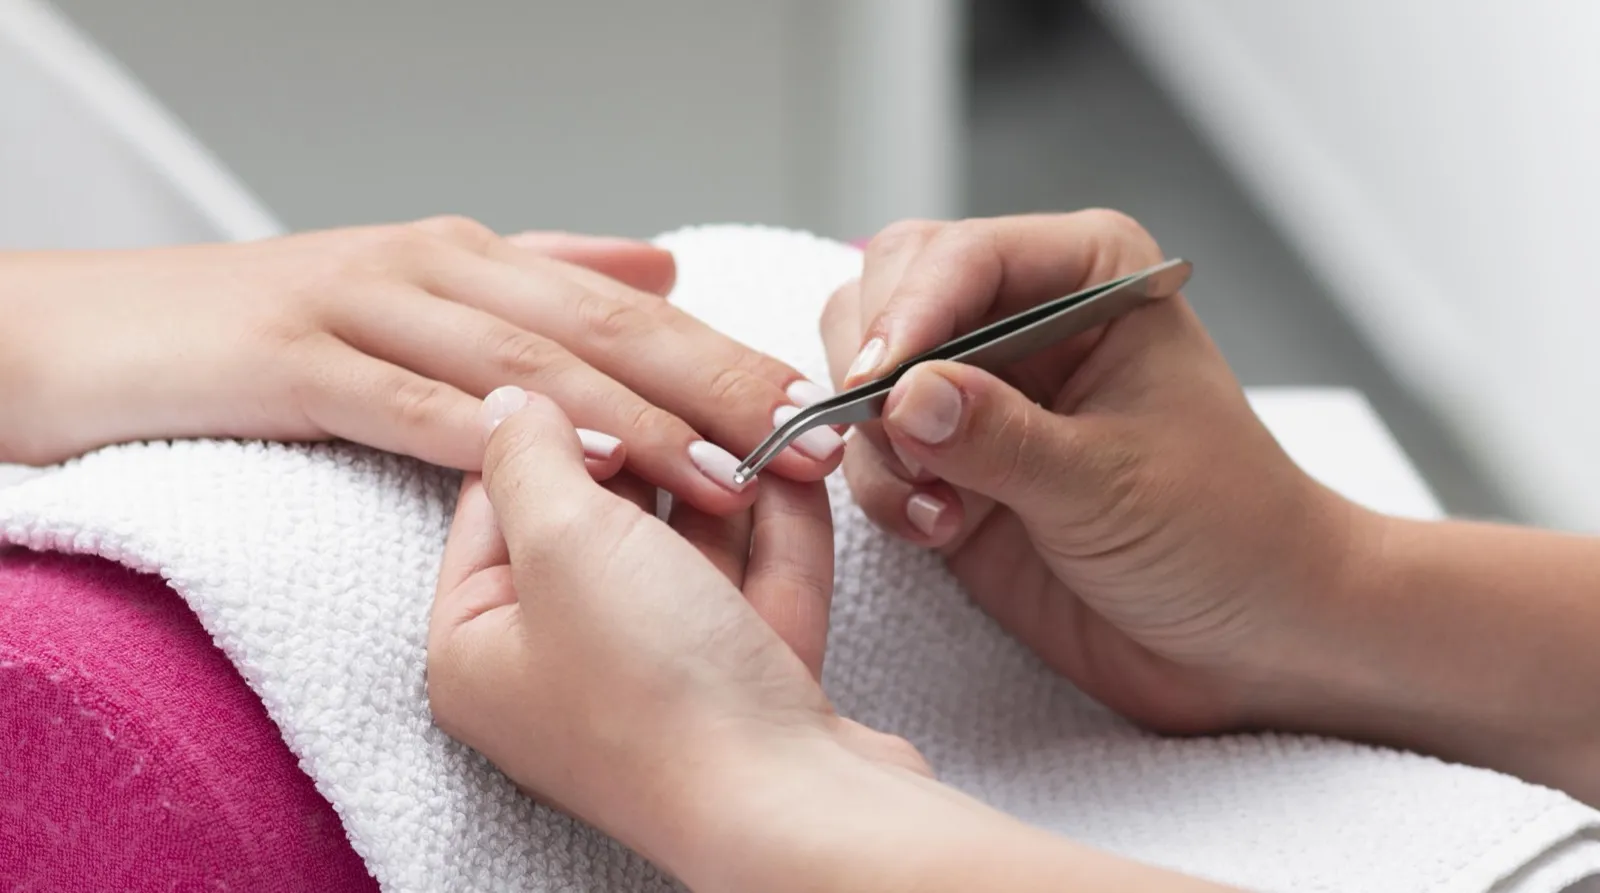
Cut the tip before you shape it, and before the overlay goes on. A tip cutter is made for the plastic of an artificial tip and cuts it cleanly, where clippers can crack or split it, especially a thin tip. The tip cutter set gives three styles, and the triple tip cutter trims quickly and consistently. Cut in one decisive stroke, a little longer than you want, and file to the final length. It is easier to take length off than to put it back.
Holding dual forms and moulds
If you are building with polygel on a form instead of a tip, the nail fixing clips hold dual forms and moulds steady while the gel cures, so the shape does not shift under the lamp.
Toe tips
A toenail is wider and flatter than a fingernail, and a finger tip cut down never sits quite right on one. Use tips made for toes, fit them the same way, sidewall to sidewall, and finish with gel. They suit pedicures where a client wants colour or length on the toes as well.
Why tips lift, and the fix
- Oil or moisture on the plate. No dehydrator, or a finger touched after prep. Dehydrate last and keep hands off the nail.
- No primer on a nail that needs one. A bonding layer gives the tip and base something to hold.
- Too much glue. It squeezes out, bonds to the skin and leaves air pockets. Use a small amount.
- An air bubble under the tip. Press from the middle outwards and hold.
- A tip that is too small. The sidewalls are left bare. Size up and file.
- A weak overlay. The tip is only a shape. If the gel over it is thin or the apex is in the wrong place, the set breaks regardless of how well the tip is stuck.
The deeper reasons gel lifts are in why gel polish lifts, and the full list of products for a set is in what nail artists use for nail extensions.
Which tip to buy first
If you will do mostly full sets in one or two popular shapes, buy those shapes as soft gel tips: almond and coffin cover most requests, and the shaping time they save adds up across a week of clients. If you do a lot of custom work, different lengths and shapes from one box, or you apply a lot of nail art that needs a clear base, the clear tips give you the freedom to cut and shape anything. Many technicians keep one of each.
Keeping tips in good order
Keep tips in their box or a divided case, sorted by size, so you can find the one you need without digging. Keep them out of heat and sun, which can warp thin plastic, and shut the lid so dust does not settle on the contact surface, where it weakens the bond. A tip you have dropped on the floor is best not used.
Taking tips off
Do not pull them. File the surface of the overlay down to thin it, then wrap each nail in an acetone-soaked pad until the gel and the adhesive soften, and ease the tip away. Forcing it takes layers of the natural nail with it. If you use an e-file for part of this, drill bits explained covers which bit to use.
Starting out
A tip box, glue, a cutter, a file and buffer, and the gel to go over it is the whole list. You do not need to buy these one by one: the Beginner Bundle puts 500 clear tips, glue and a cutter in one box with five gel polishes, a base and top coat, a file and a buffer, and it needs only a lamp. Practise on a practice stand first. More boxed starts are at nail kits.
The short version
Prepare the nail, fit the tip sidewall to sidewall, use a small amount of glue on the contact area, press from the middle out and hold, cut before you shape, and cover it with a proper overlay. Most lifted tips are a preparation or application fault, so fix those first.